

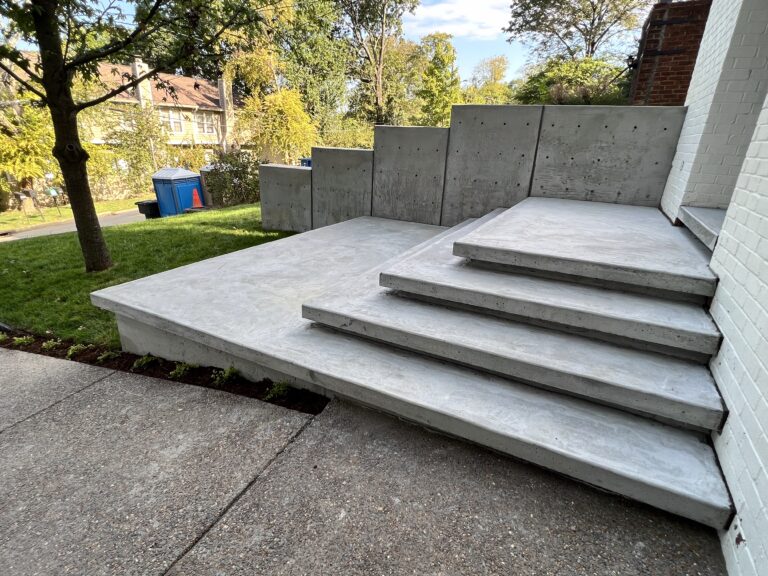

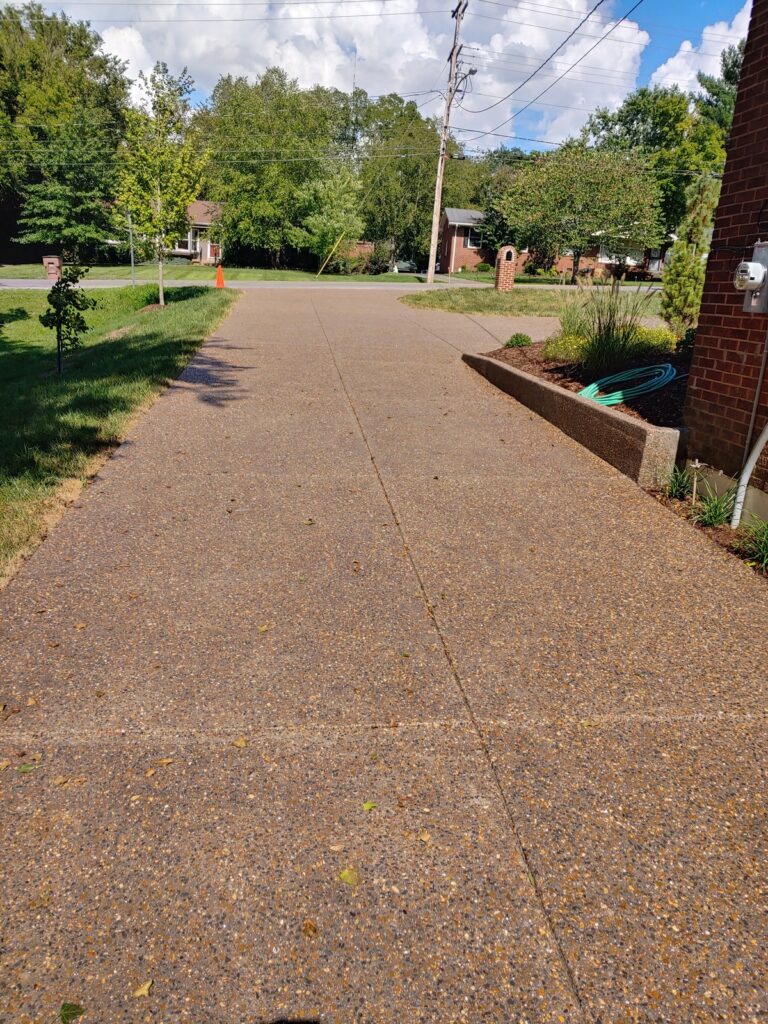


Concrete Construction for a Driveway or Patio Pad in Nashville, TN
Do you have a home concrete job you’d like to DIY? While entirely possible, pouring a concrete slab yourself can be intimidating. After all, even the smallest mistakes can turn your project into a huge mess that is expensive to fix.
In this article, we’ll walk you through the process of pouring a concrete slab and teach you some of the best techniques and tools, so you can get your concrete construction job right the first time.
Materials & Tools Needed for Concrete Installation
Pouring concrete is a big job, so you’ll want to make sure you have the right tools and materials lined up before you begin.
Here’s a checklist of all the basics you’ll need for your concrete construction:
- Plate compactor (you can rent this from Home Depot or other local hardware stores)
- Hammer
- Level
- Pry bar
- Safety glasses
- Tape measure
- Two or three contractor-grade wheelbarrows
- Heavy-duty iron rakes
- Circular saw (Step 4)
- ½” dia. rebar (Step4)
- Tie wire (Step #4)
- Bull float (Step 6)
- Groover (Step 7)
- Edger (Step 7)
- Magnesium float (Step 7)
- Steel trowels (Step 7)
- Concrete
- Lumber
- Packable fill material
While this may seem like a lot of tools, the good news is that you can rent mostly everything on the list, and many of the small hand tools are inexpensive should you decide to purchase them.
A Step-by-Step Process for Pouring a Concrete Slab
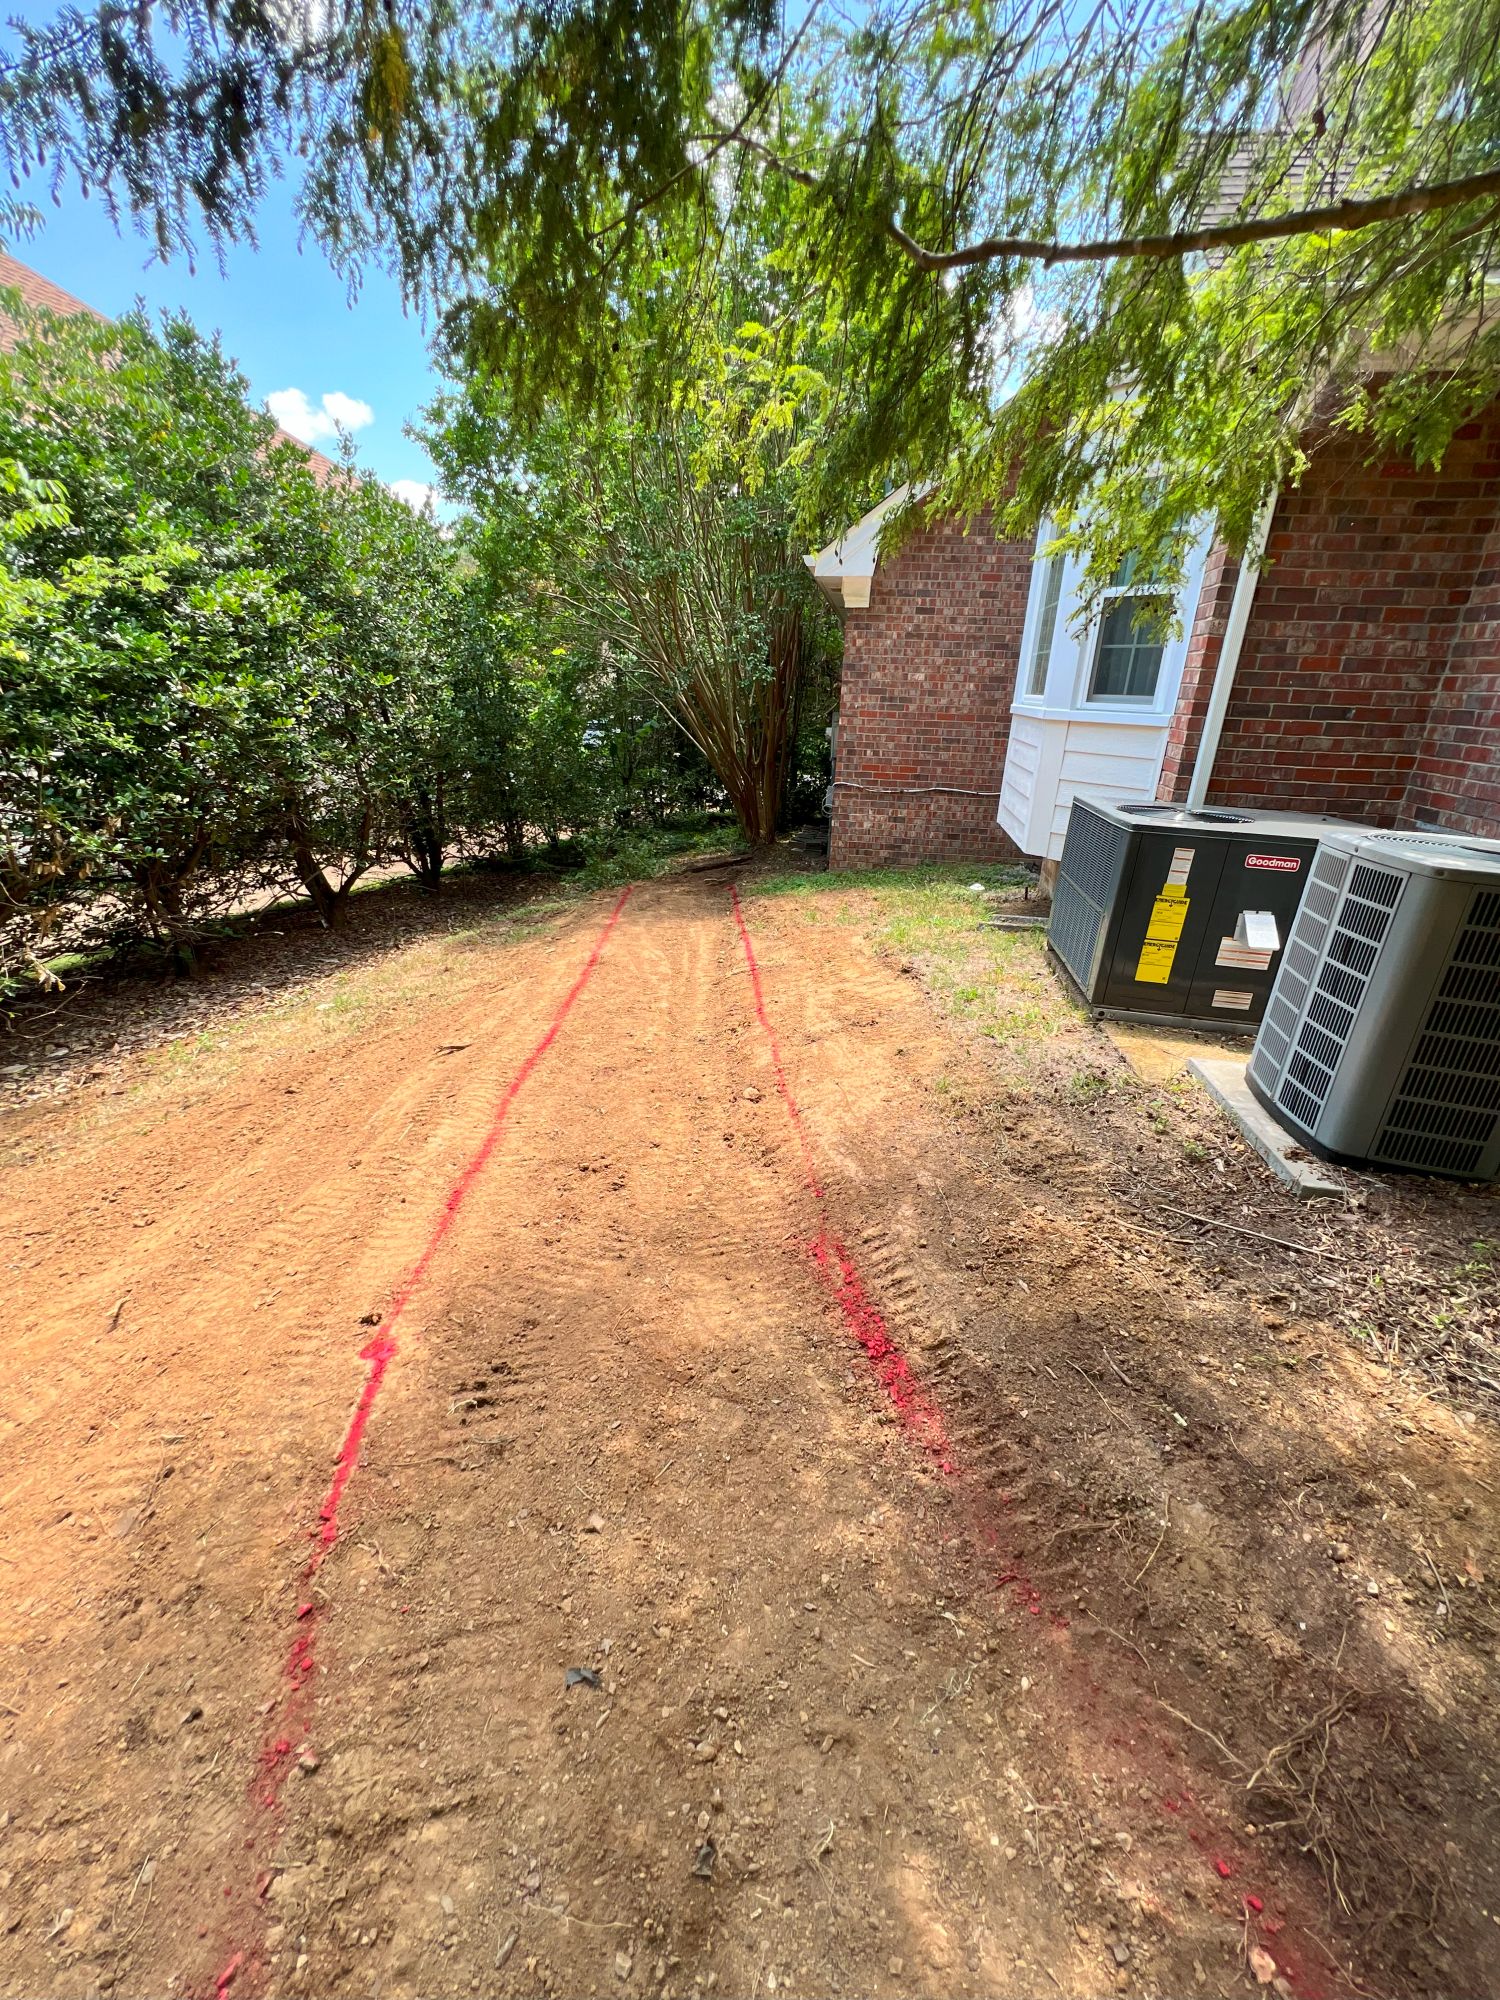
Step 1: Prepare Your Site
Before starting any DIY concrete construction project, you’ll need to make sure you’ve done all the proper prep work and planning for the area you’d like to pour your slab. This is crucial to the success of your project as mistakes here will always show up later.
- Drive four stakes to indicate approximately where the corners of the slab will be.
- Once the size and location of the slab have been determined, use a builder’s level to find out the slope of the ground. Flattening a sloped site will likely require excavation work.
- Keep in mind that the life of your concrete slab will be much longer if it’s poured on a solid base that drains well. If your area has clay or loamy soil that won’t drain, you’ll need to remove enough of it so that approximately 6 to 8 inches of gravel or another fill material can be added under the concrete.
- If you have to do any digging, make sure that you call 811 or visit call811.com first so that any buried pipes and wires can be identified and marked.
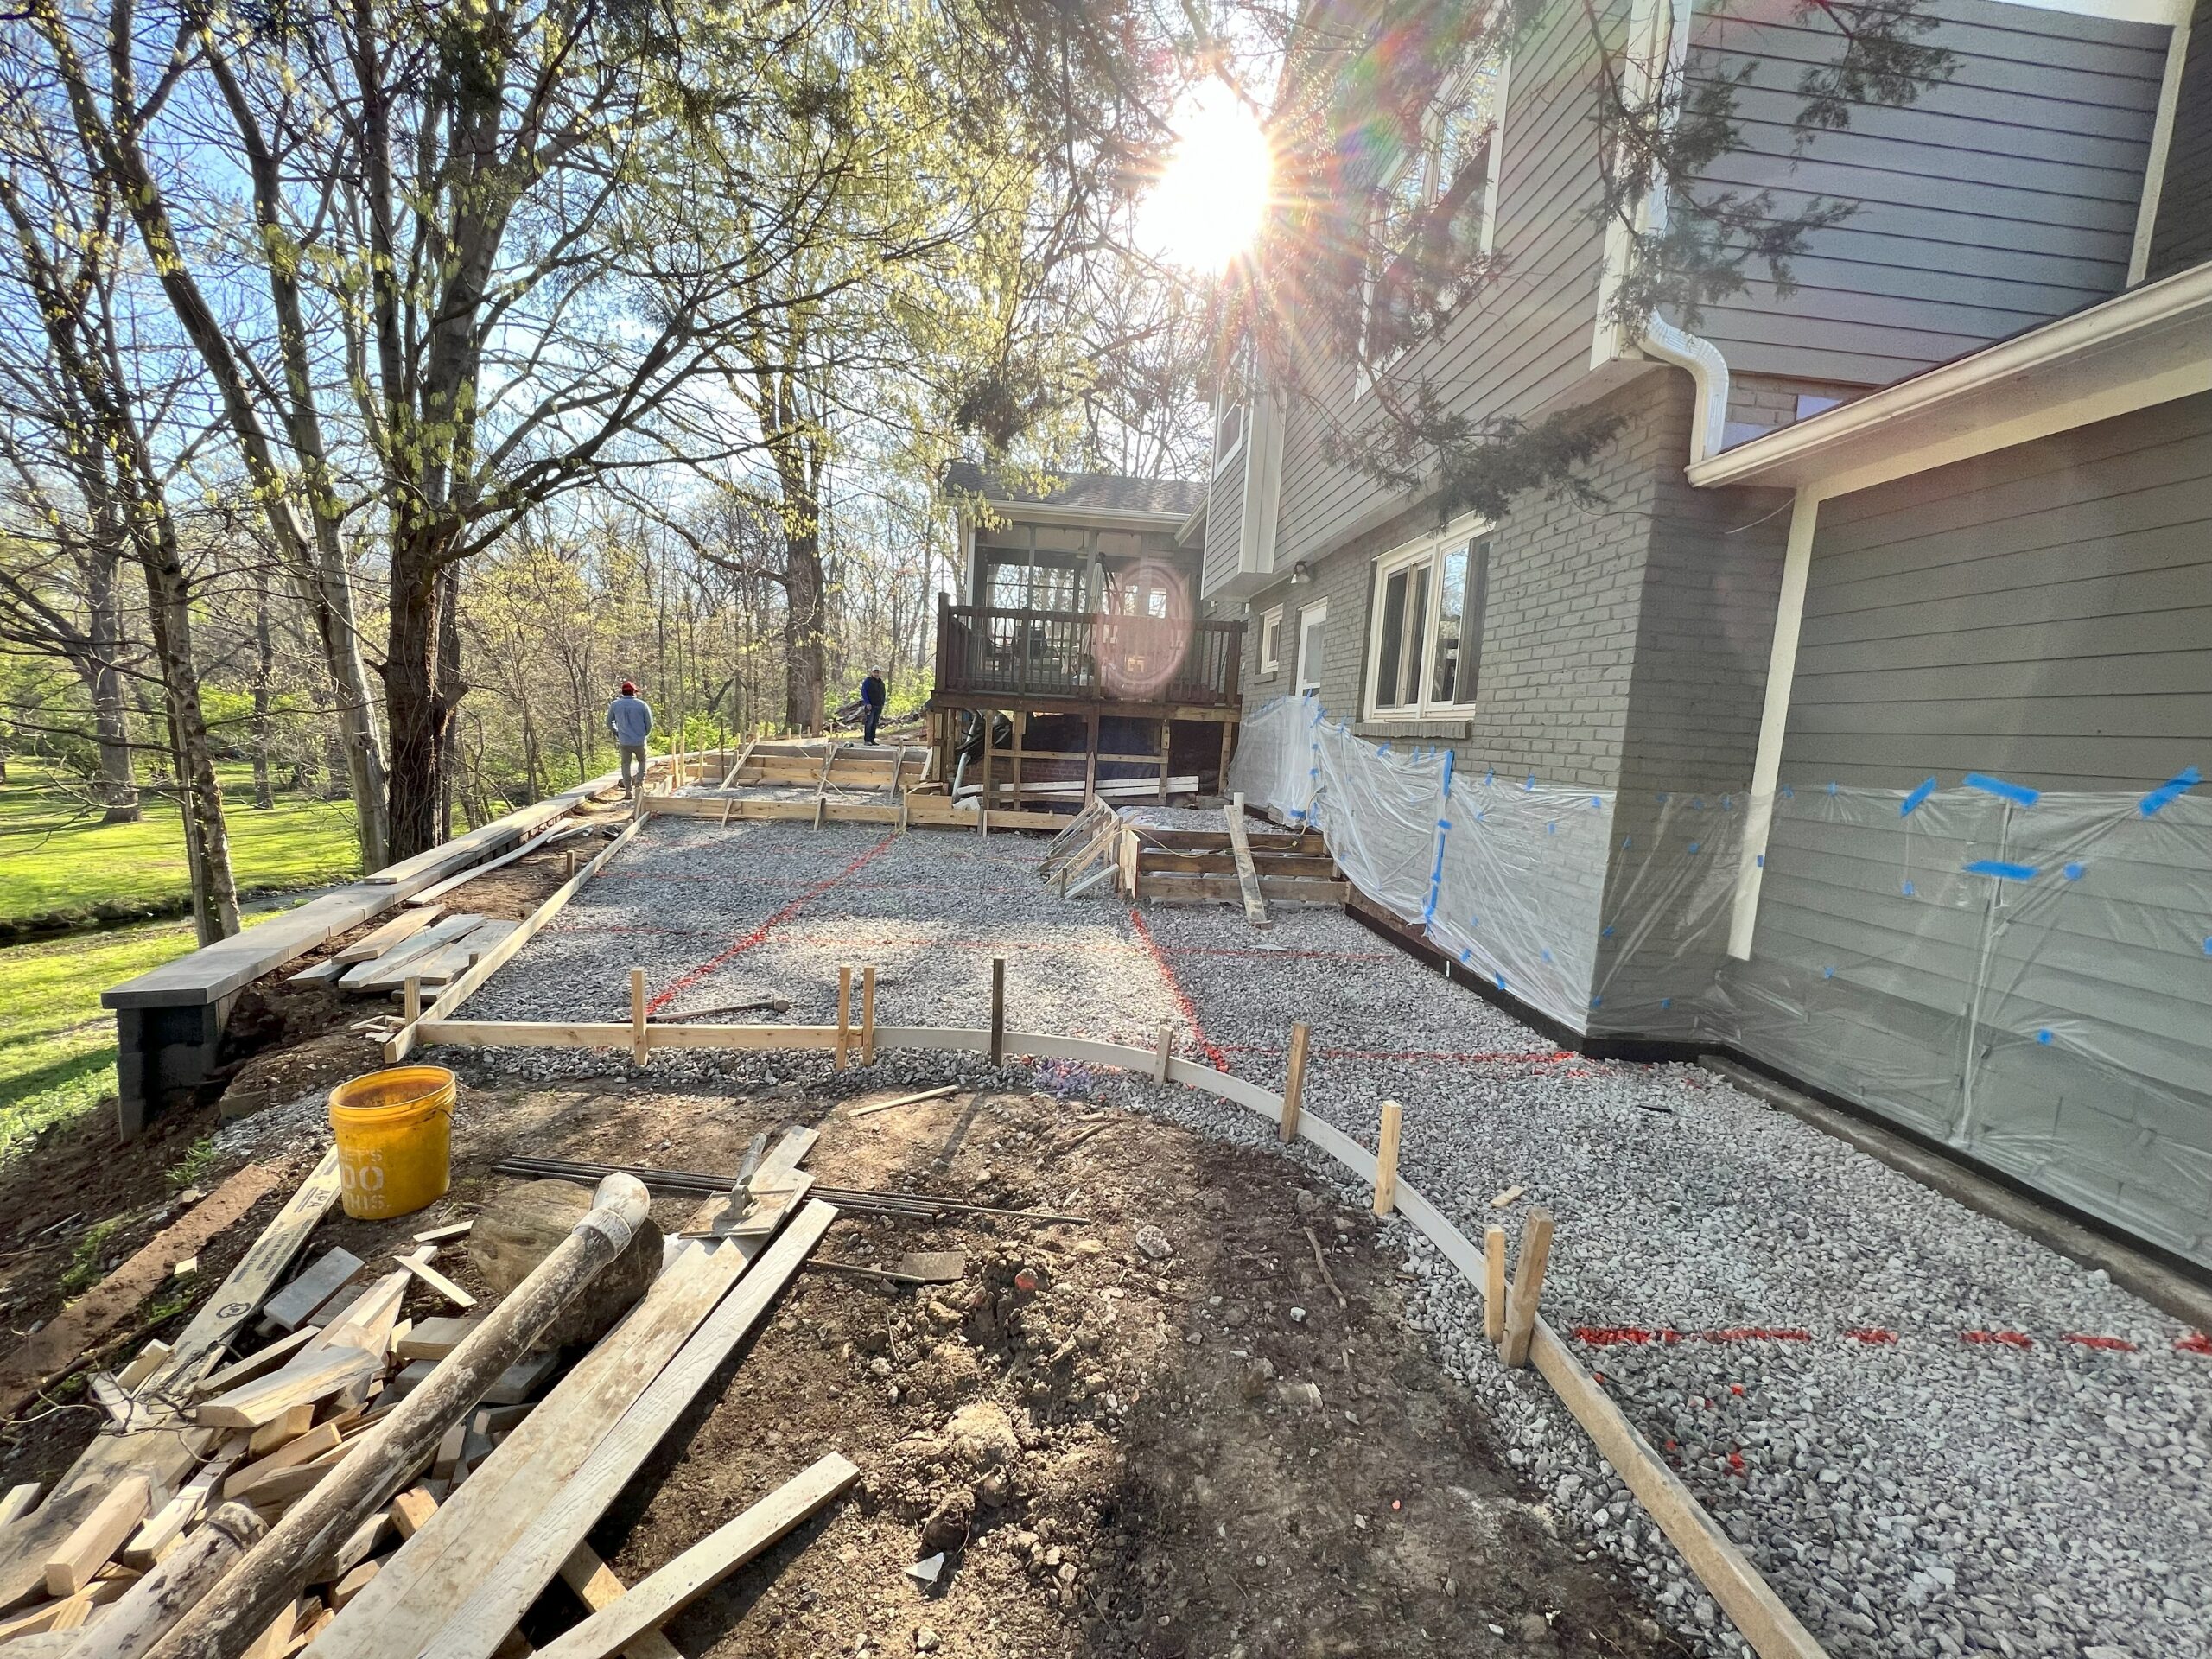
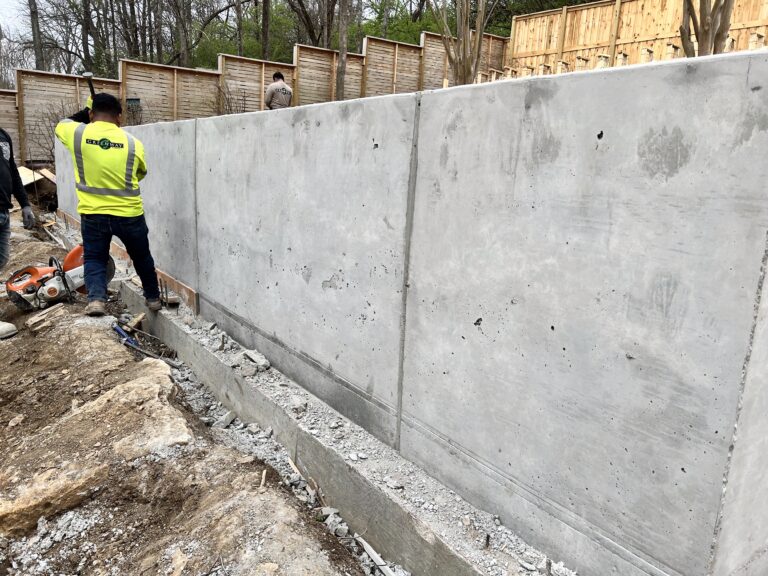
Step 2: Build Forms
Building solid and level forms will help you be as precise as possible when it comes time to pour the concrete. You can think of the forms as the outline of your slab. If you don’t have a good outline, you probably won’t have a good slab.
- Cut straight, wooden boards to the length of one side of your slab and nail it to a corner stake. Using a builder’s level, level and set the desired height of the board and then nail it to the other corner stake.
- Once you have one side in place, you’ll need to brace the board to ensure your sides stay straight. This is important because the weight of freshly poured concrete can push your form boards and cause your slab to have uneven edges.
- To brace your forms, place 2×4 stakes and 2×4 kickers along the sideboard for extra support.
- Level and brace the other sides, leaving one side off until you’ve added and packed the base material for your slab.
Step 3: Fill and Pack Your Base
Now that you’ve built your sturdy forms, you’ll need to fill and pack your base with gravel or a material that compacts and drains well.
- You can easily calculate how much fill you’ll need by running a string across the top of your forms and measuring down to the ground.
- Use this depth to determine the cubic yards of fill needed. Don’t forget to subtract the thickness of your slab.
- A local supplier should be able to recommend a good fill to use under your slab.
- Spread the fill evenly in 3 inch layers and tamp each layer with your rented plate compactor until you’ve reached the desired height.
- To create thickened concrete edges, slope the fill material down along the perimeter of your forms.
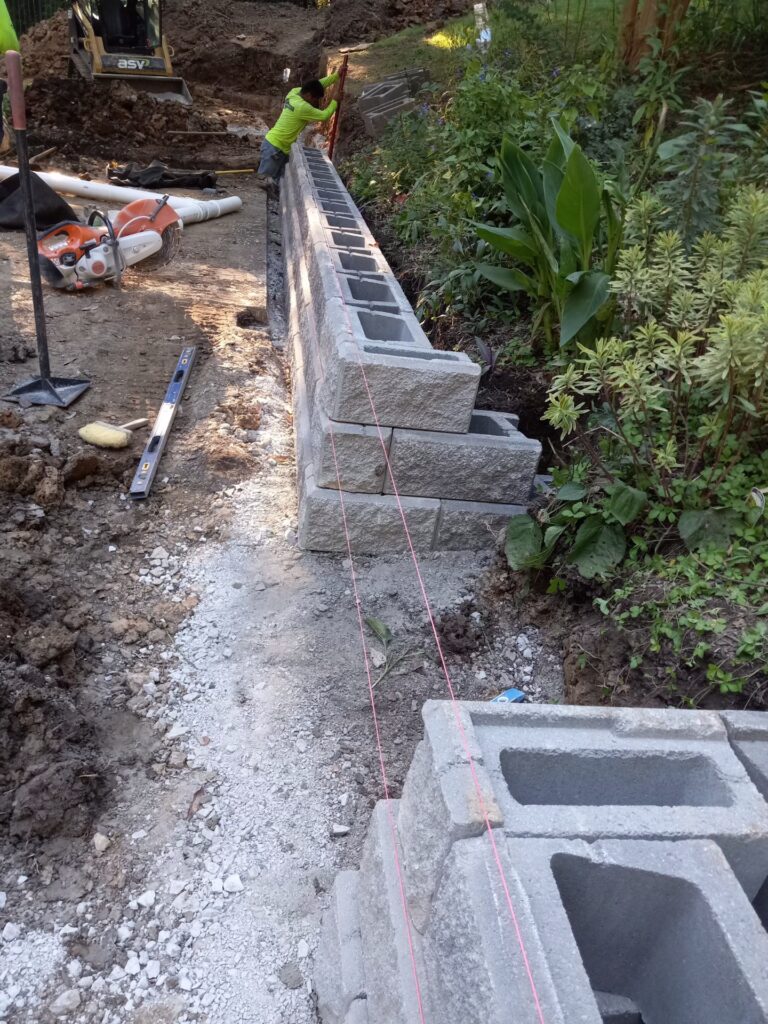
Step 4: Reinforce Your Slab
The next step is to reinforce your concrete slab with rebar. This is an important step that will strengthen your slab and prevent cracking over time.
- Cut the pieces of rebar with your circular saw and bend them to form a perimeter of reinforcement along your forms.
- About 4 inches from the perimeter of your forms, set rebar stakes along the sides of your slab and attach two bands of rebar to the stakes using tie wire.
- Once the perimeter rebar has been placed, cut and lay out more rebar pieces in a 4 ft. grid pattern across the center of the slab, connecting the intersections with tie wire.
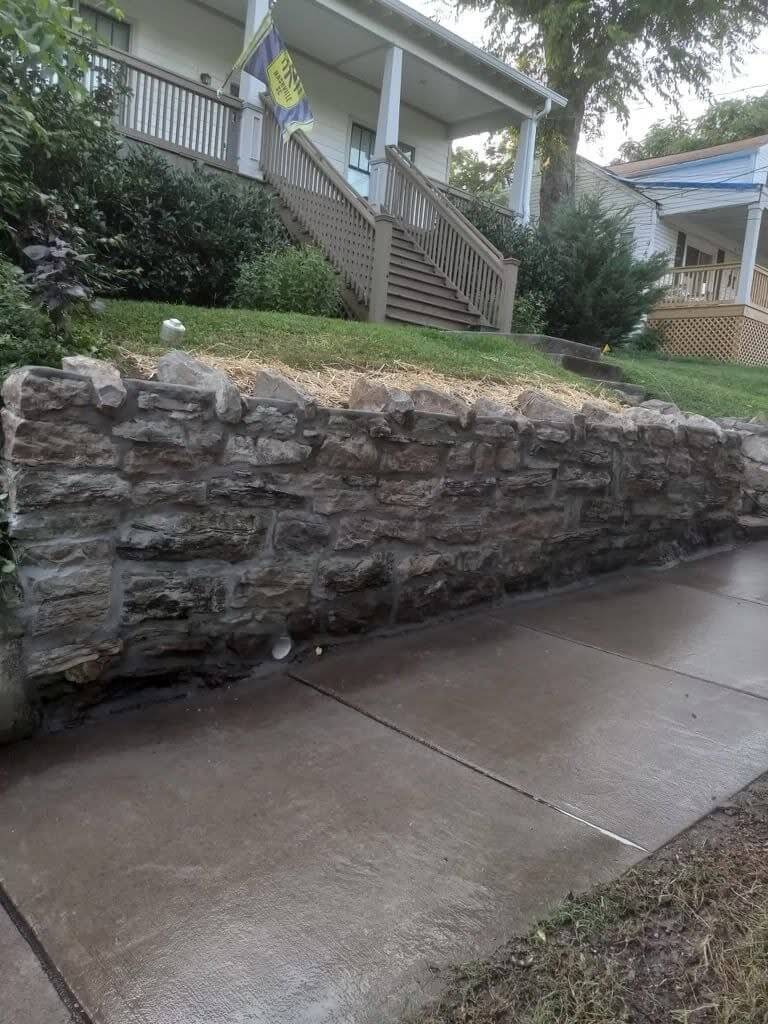
“Work with skilled Nashville hardscaping and outdoor construction professionals who understand your vision and respect your schedule. Contact us for a free quote!”
Step 5: Order Your Concrete and Prepare for Its Delivery
One of the most important things to remember with any concrete project, is that once you start pouring, you have to act quickly. With this in mind, it will be to your benefit to ensure everything is perfect and ready to go before the concrete truck comes. This will help you avoid costly mistakes.
- Double-check that your forms are strong and level.
- Make sure you have a couple contractor-grade wheelbarrows and several people ready to help. It’s heavy work!
- Determine the volume of concrete you’ll need. We have a guide for that, too.
- Call the ready mix company well in advance. They should be able to help you pick the best mix for the needs of your specific project.
Note: Hot weather accelerates the hardening process even more, so try to avoid pouring on a hot day if you can. If the weather is calling for rain on the day of your concrete delivery, make sure to reschedule because rain will ruin the surface of your slab.
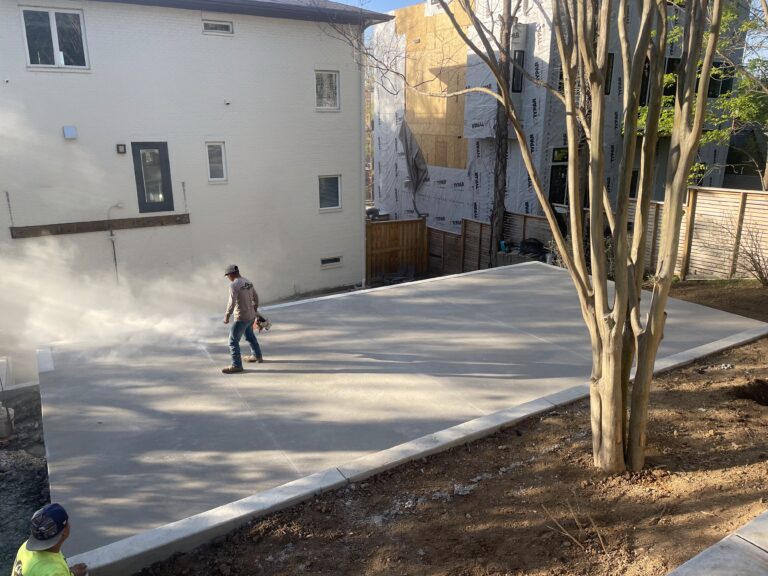
Step 6: Pour and Flatten Your Concrete
It’s time to pour your concrete! Remember, you’ll need to act as quickly and precisely as possible.
- Start pouring in the forms furthest from the truck, using wheelbarrows when necessary. Place the concrete and level it with a rake.
- Remember to lift the rebar as you go so that it’s in the middle of the slab.
- Once the concrete is placed, you’ll need to even it with the top of the form boards by dragging a screed board across the concrete. A straight 2×4 should do the job.
- After screeding, use the bull float immediately to create a flat surface and smooth out any marks. However, you should only need to pass over the concrete three or four times. Any more and you run the risk of weakening your surface.
Step 7: Do the Final Touches
Now that your concrete has been successfully poured and leveled, you’ll just need to do the final touches to ensure your slab is perfect and smooth. After you’ve run the bull float across the slab, there will be some water that rises from the concrete and sits on the surface. These final touches should all be done after that water has disappeared.
- Using an edger, round out the edges so that they’re smooth.
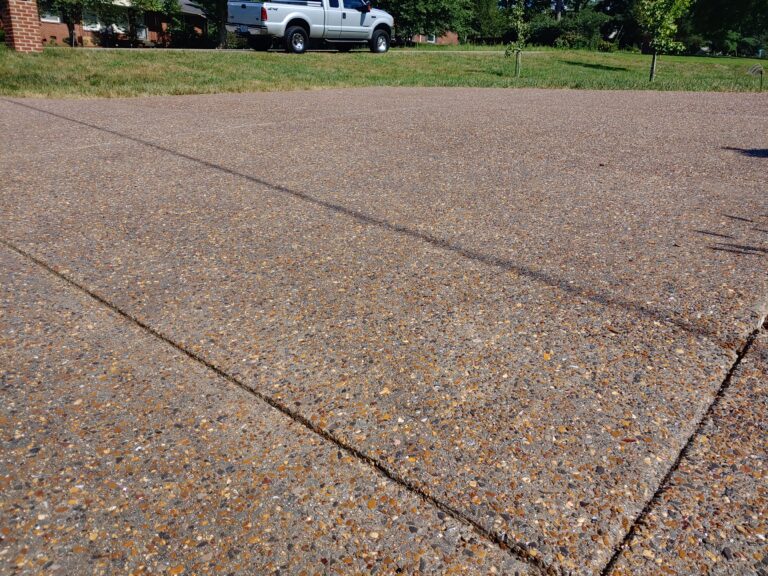
- Once the concrete is strong enough to support your weight, run a groover in a straight line about every 10 ft. This will help reduce cracking.
- After grooving, use the magnesium float to remove any marks or imperfections.
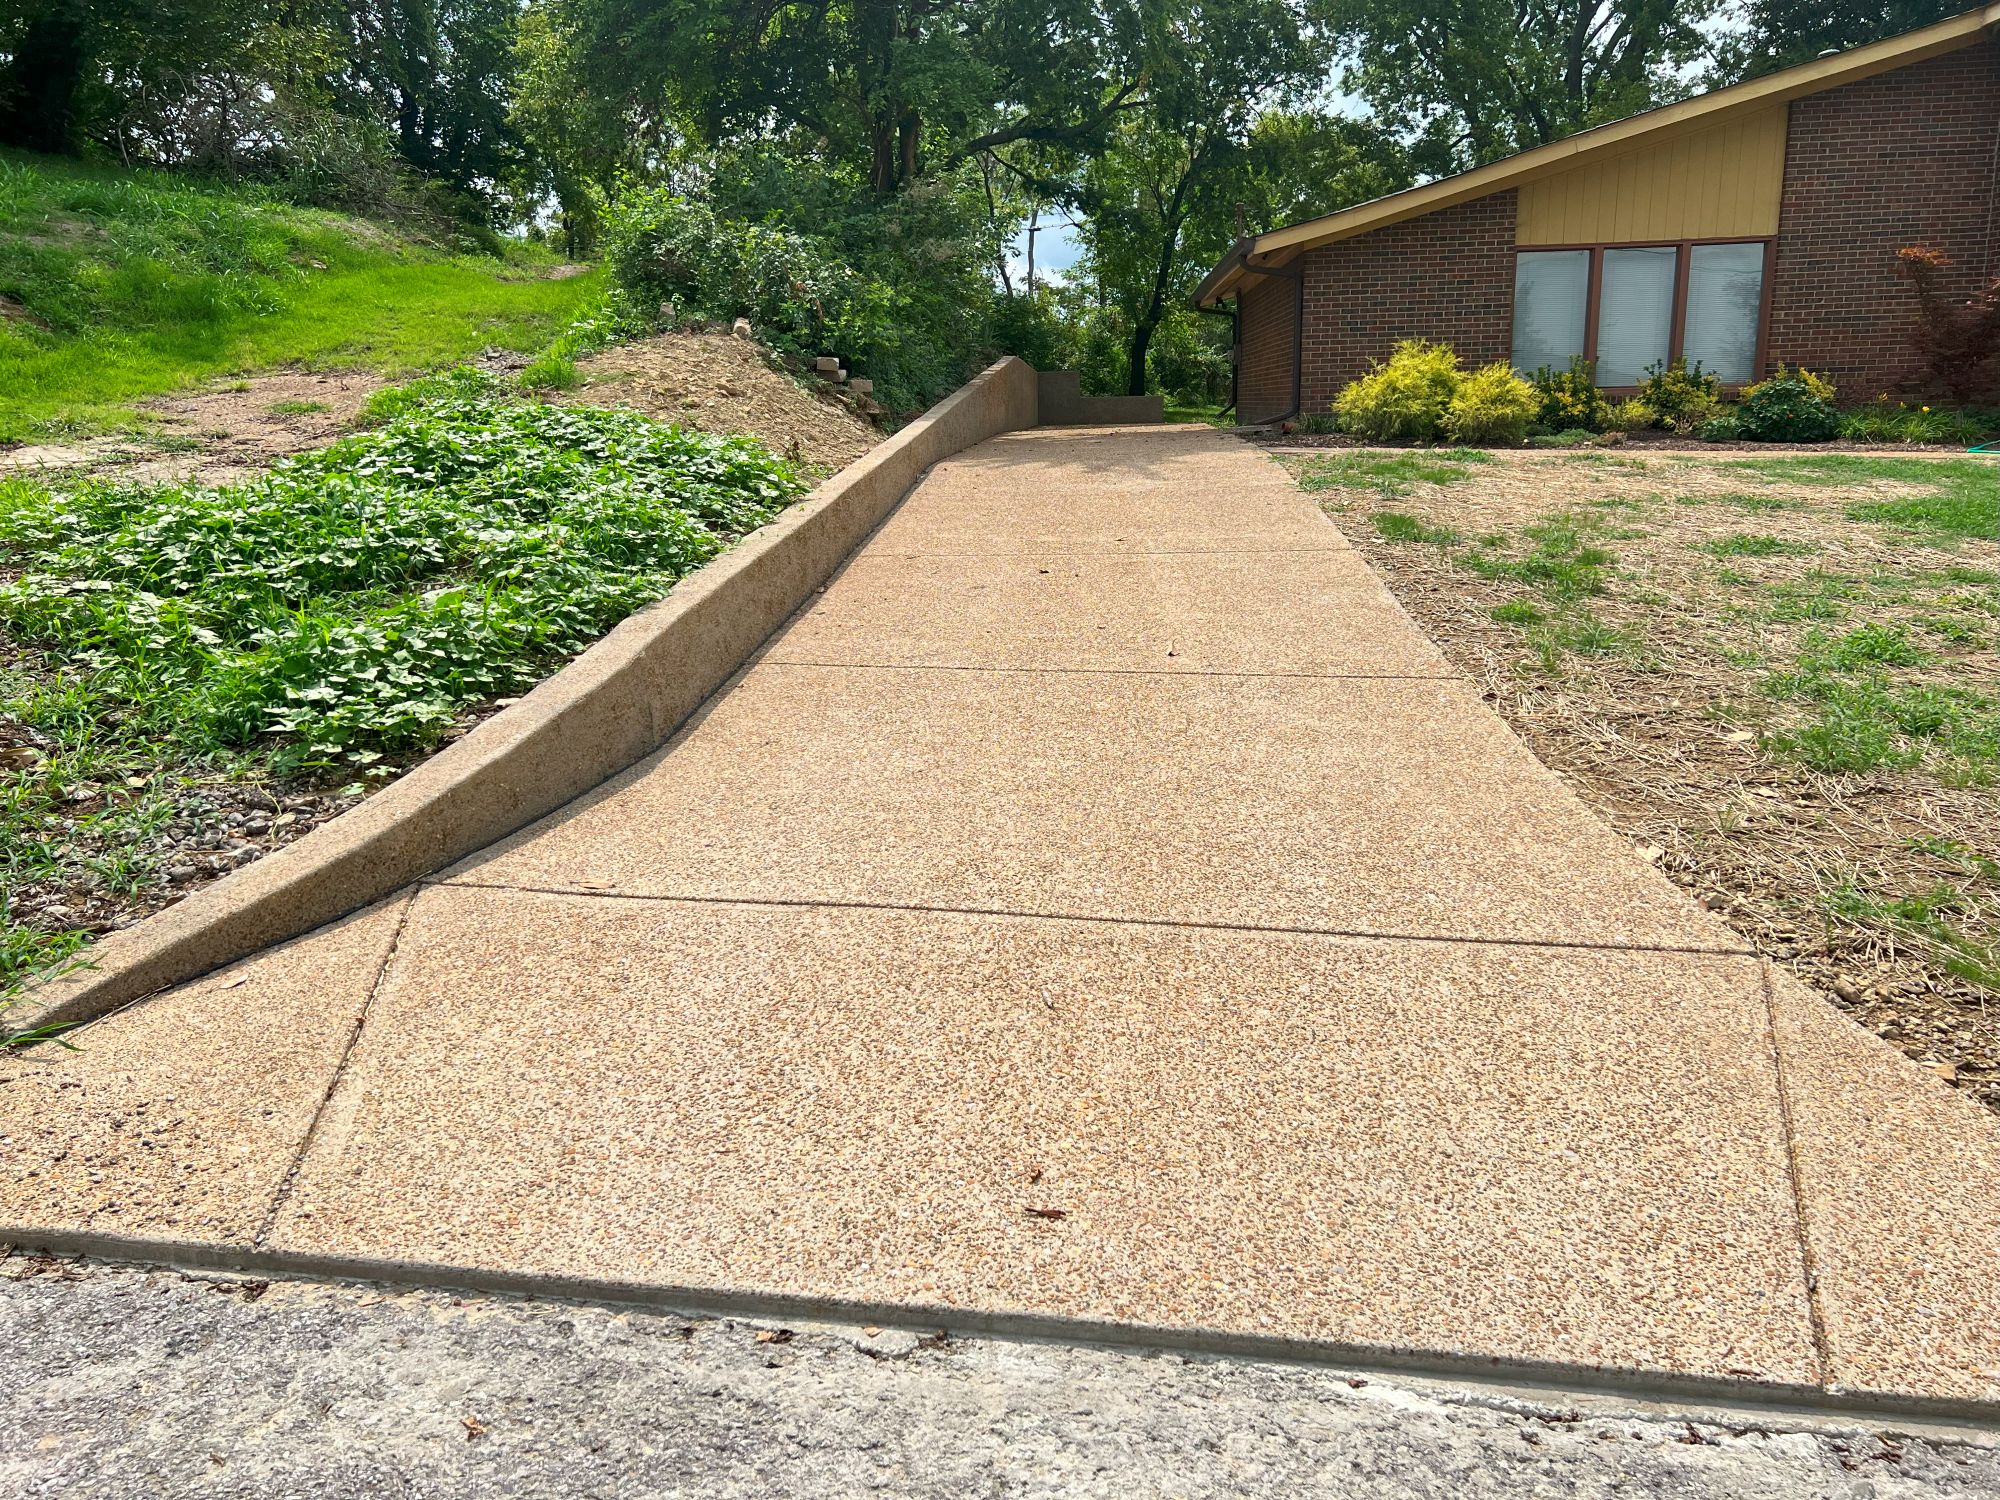
- Depending on the finish you’re looking for, you may want to run a steel trowel over the surface after the magnesium float. This process is a little more difficult, but can create an even smoother finish. When troweling, you’ll want to repeat the movements a couple times, waiting for the concrete to harden slightly between each time.
- Allow the finished slab to harden overnight. Then, you can carefully remove the form boards.
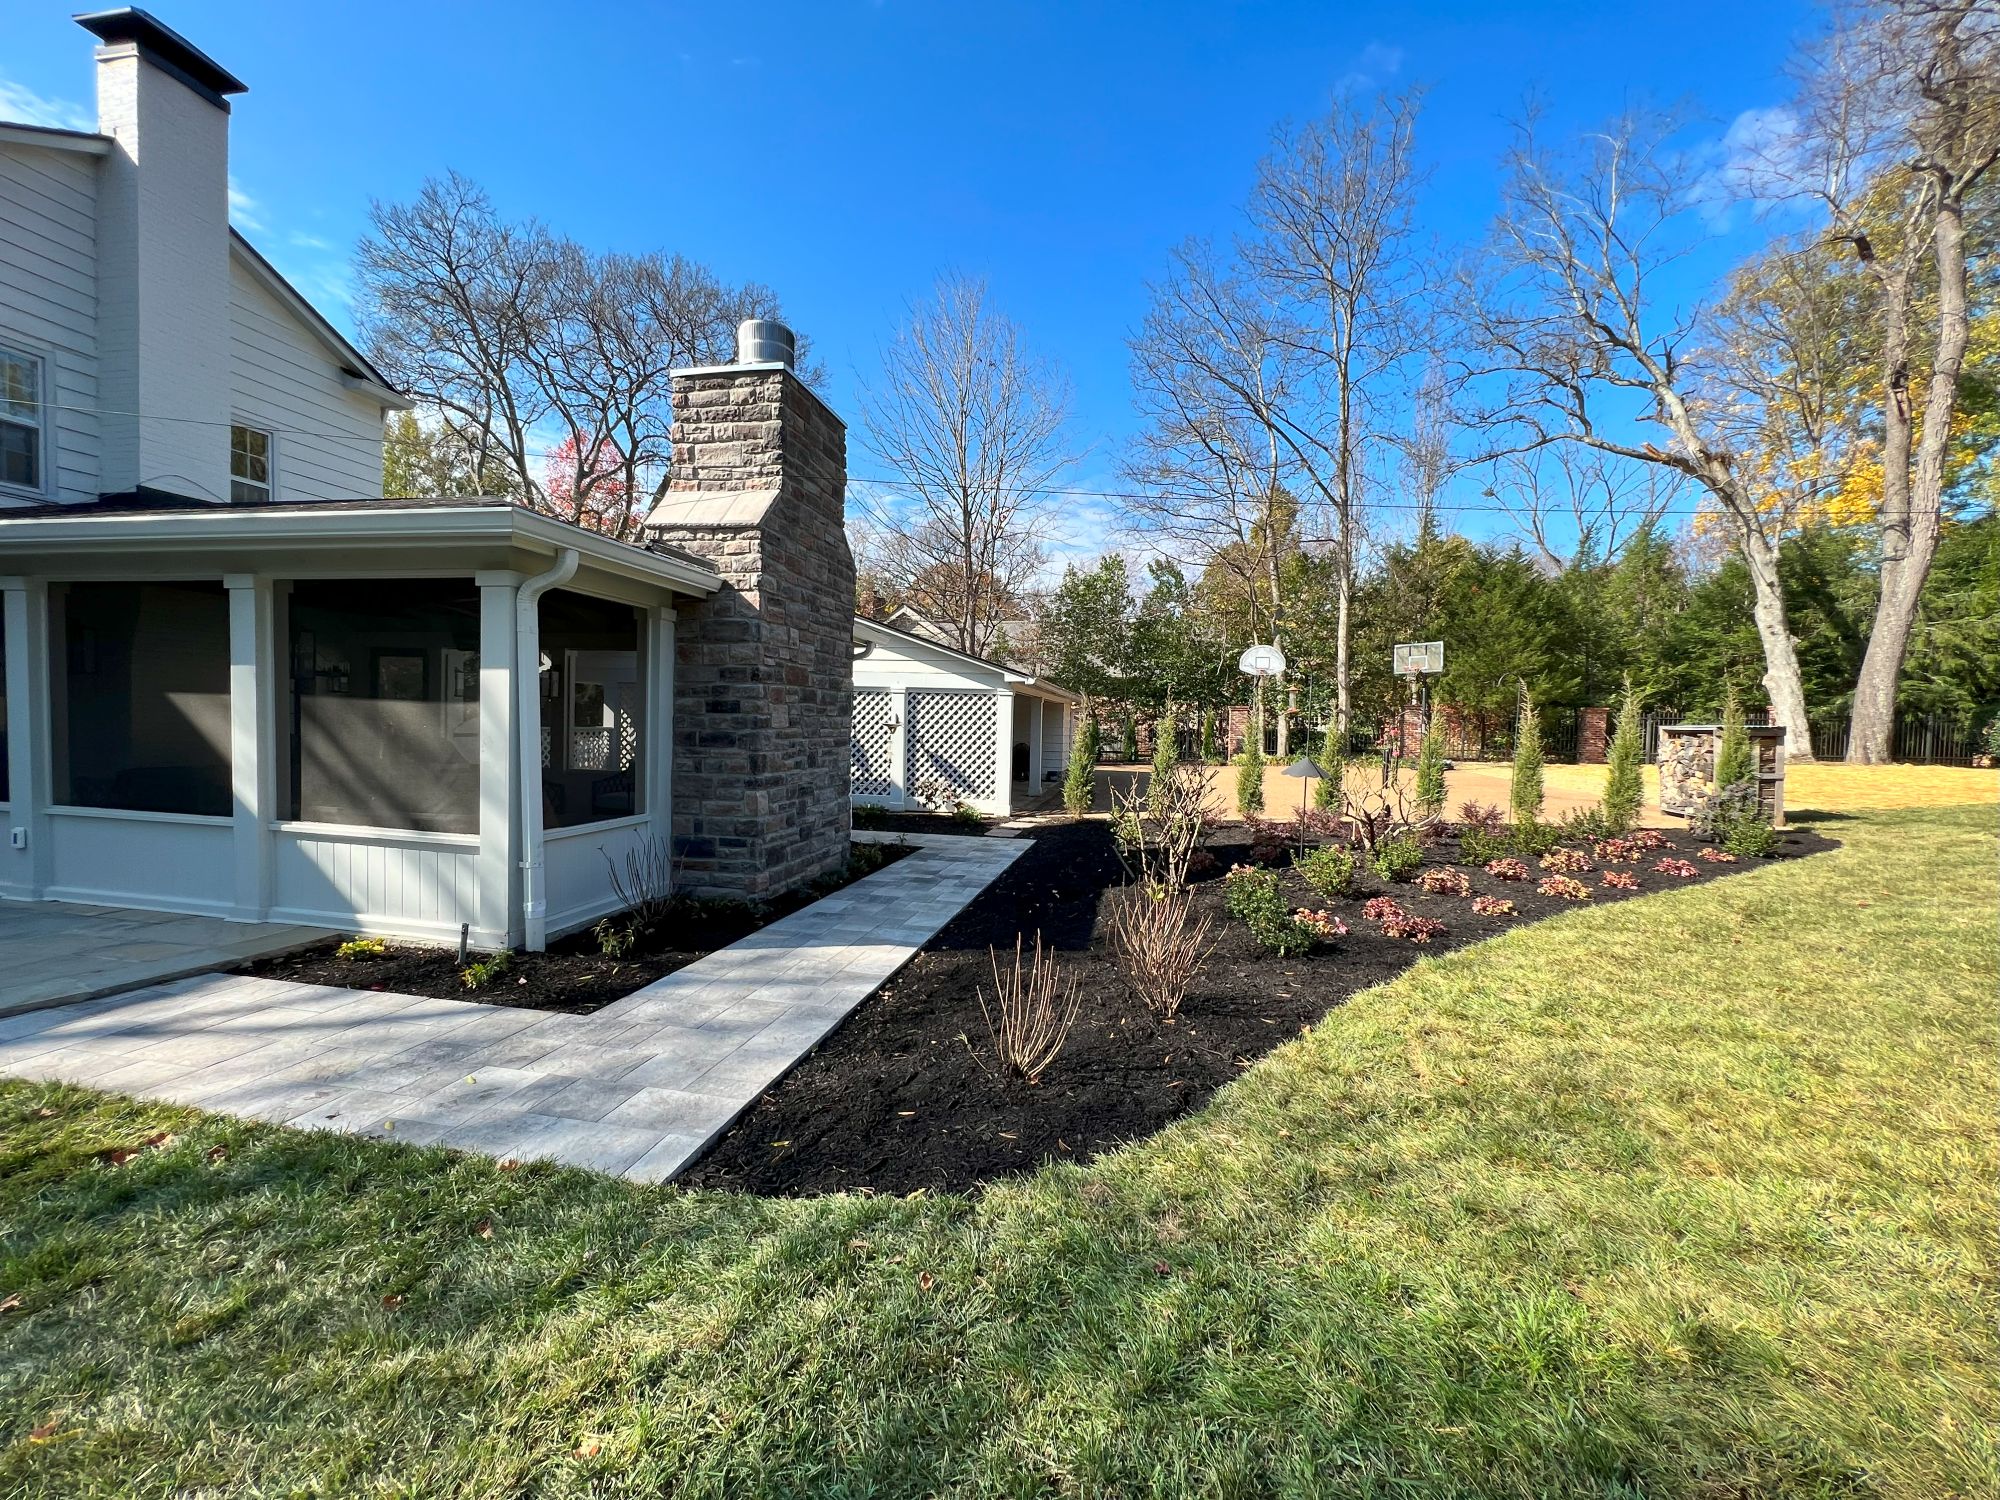
Concrete Construction Without the Hassle
Nervous about any of these steps? We don’t blame you! Large driveways and even small concrete patio installation jobs can be extremely difficult and stressful for beginners.
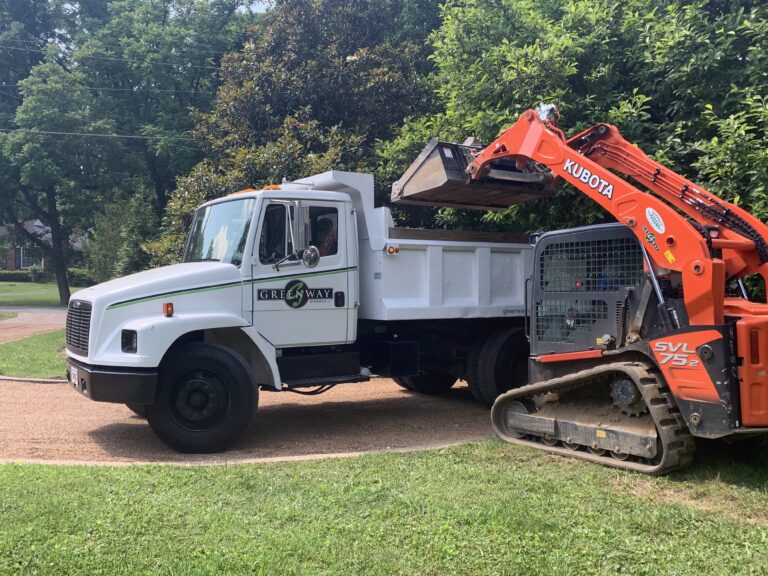
Our concrete construction experts at Greenway of Nashville can take the hassle and stress of pouring the perfect slab off your shoulders.
If you need help pouring a new backyard patio, walkway, or concrete driveway in Nashville, we’re here to help you every step of the way! Our team has been serving homeowners across Nashville, Lebanon, Murfreesboro, and surrounding communities for over a decade. Dedicated to the highest quality and service standards, we’ll make any concrete project easy and enjoyable.
Give us a call today and put The Greenway Difference on your side.