


A Step-by-Step Guide to Patio Construction Using Pavers
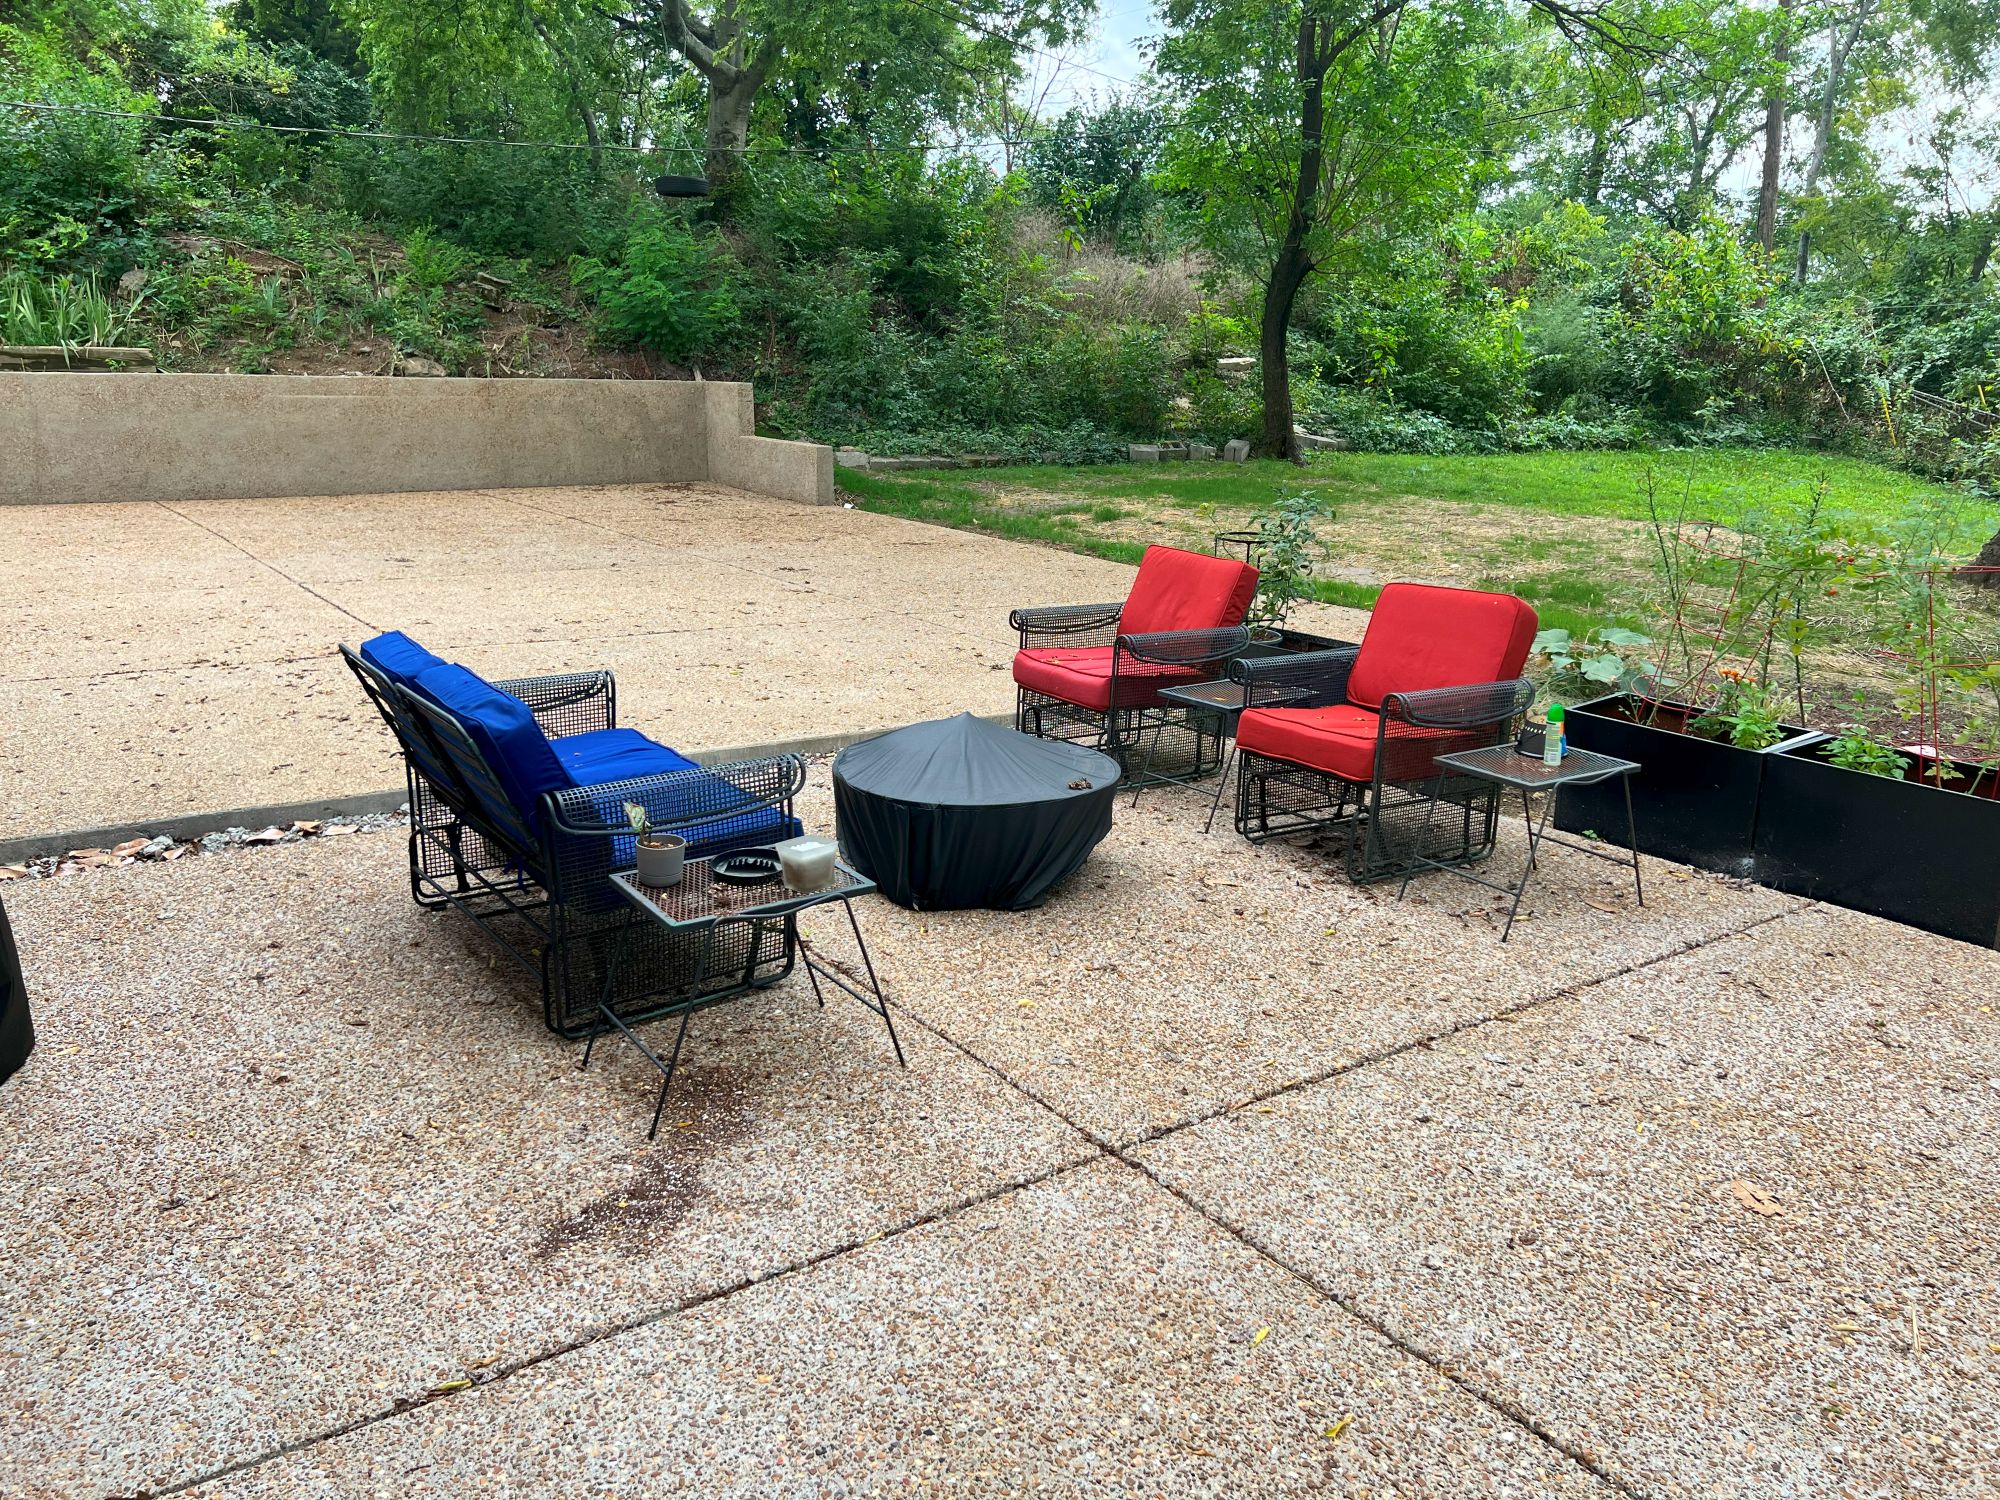
There’s nothing like a beautifully constructed patio to add style and function to your backyard. Are you considering patio construction but don’t want to go the traditional, concrete slab route? A paver patio installed by professional paver patio contractors could be the perfect solution for you.
From preparing your landscape to installation tips and tricks, our paver patio contractors’ guide will help you understand how to install your own paver patio and be the envy of all your guests.

What Are Patio Pavers?
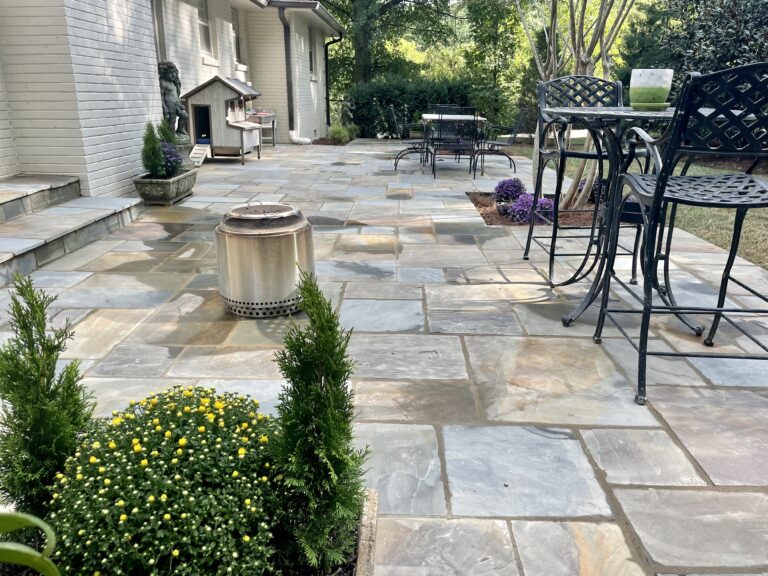
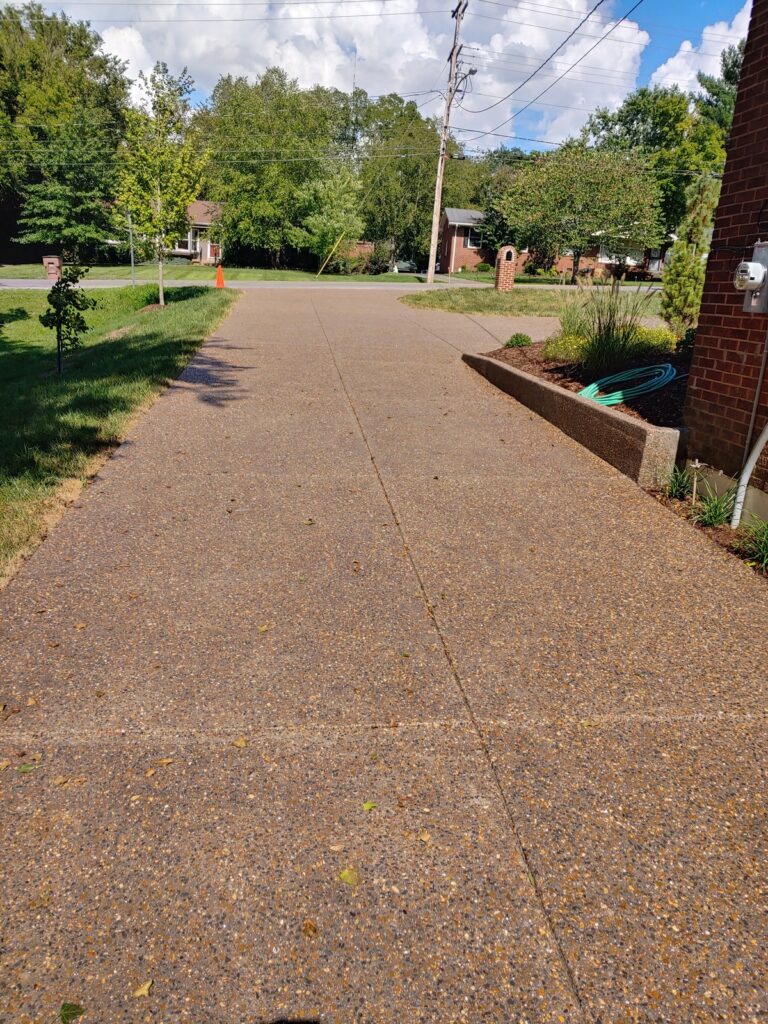
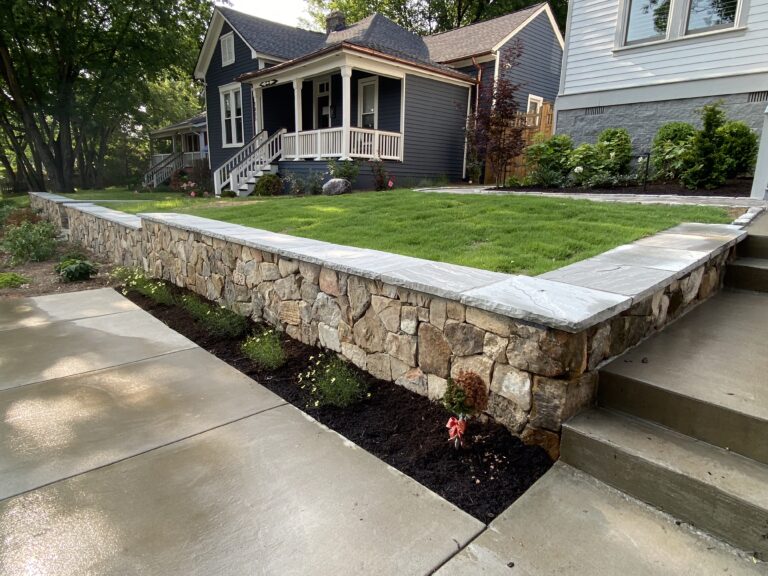
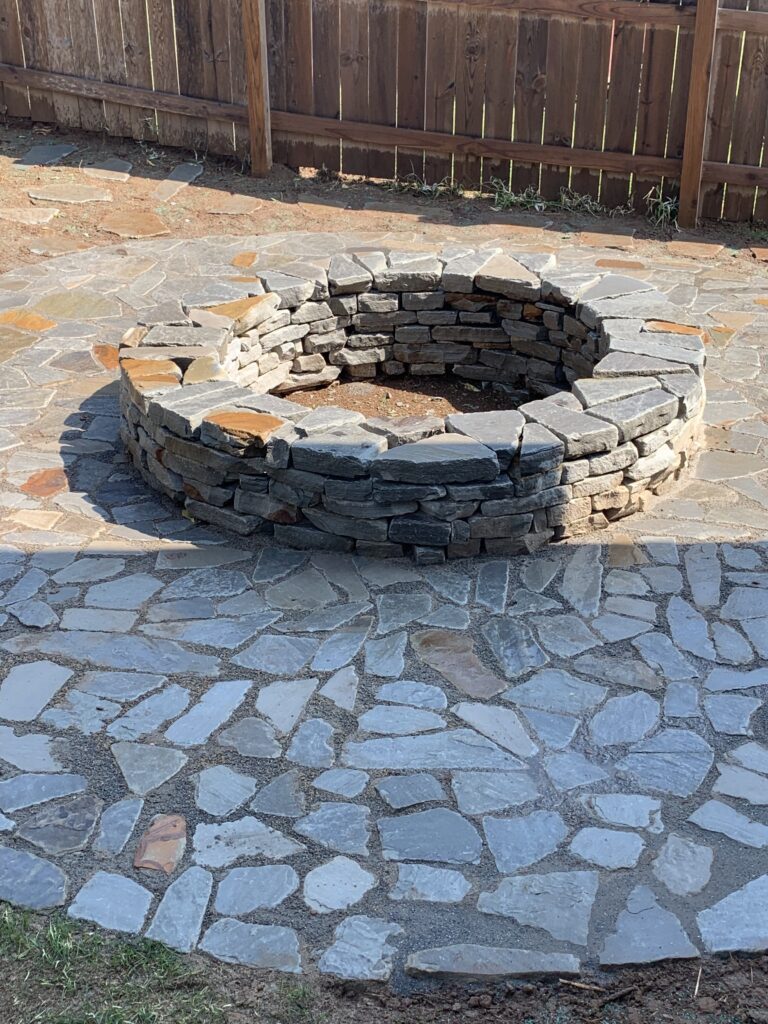
A paver patio is a great way to spruce up your backyard landscape and create an outdoor living space you and your family can enjoy for years to come. Typically, ‘pavers’ refer to stones made from concrete, but pavers can also be made from clay brick or natural stone.
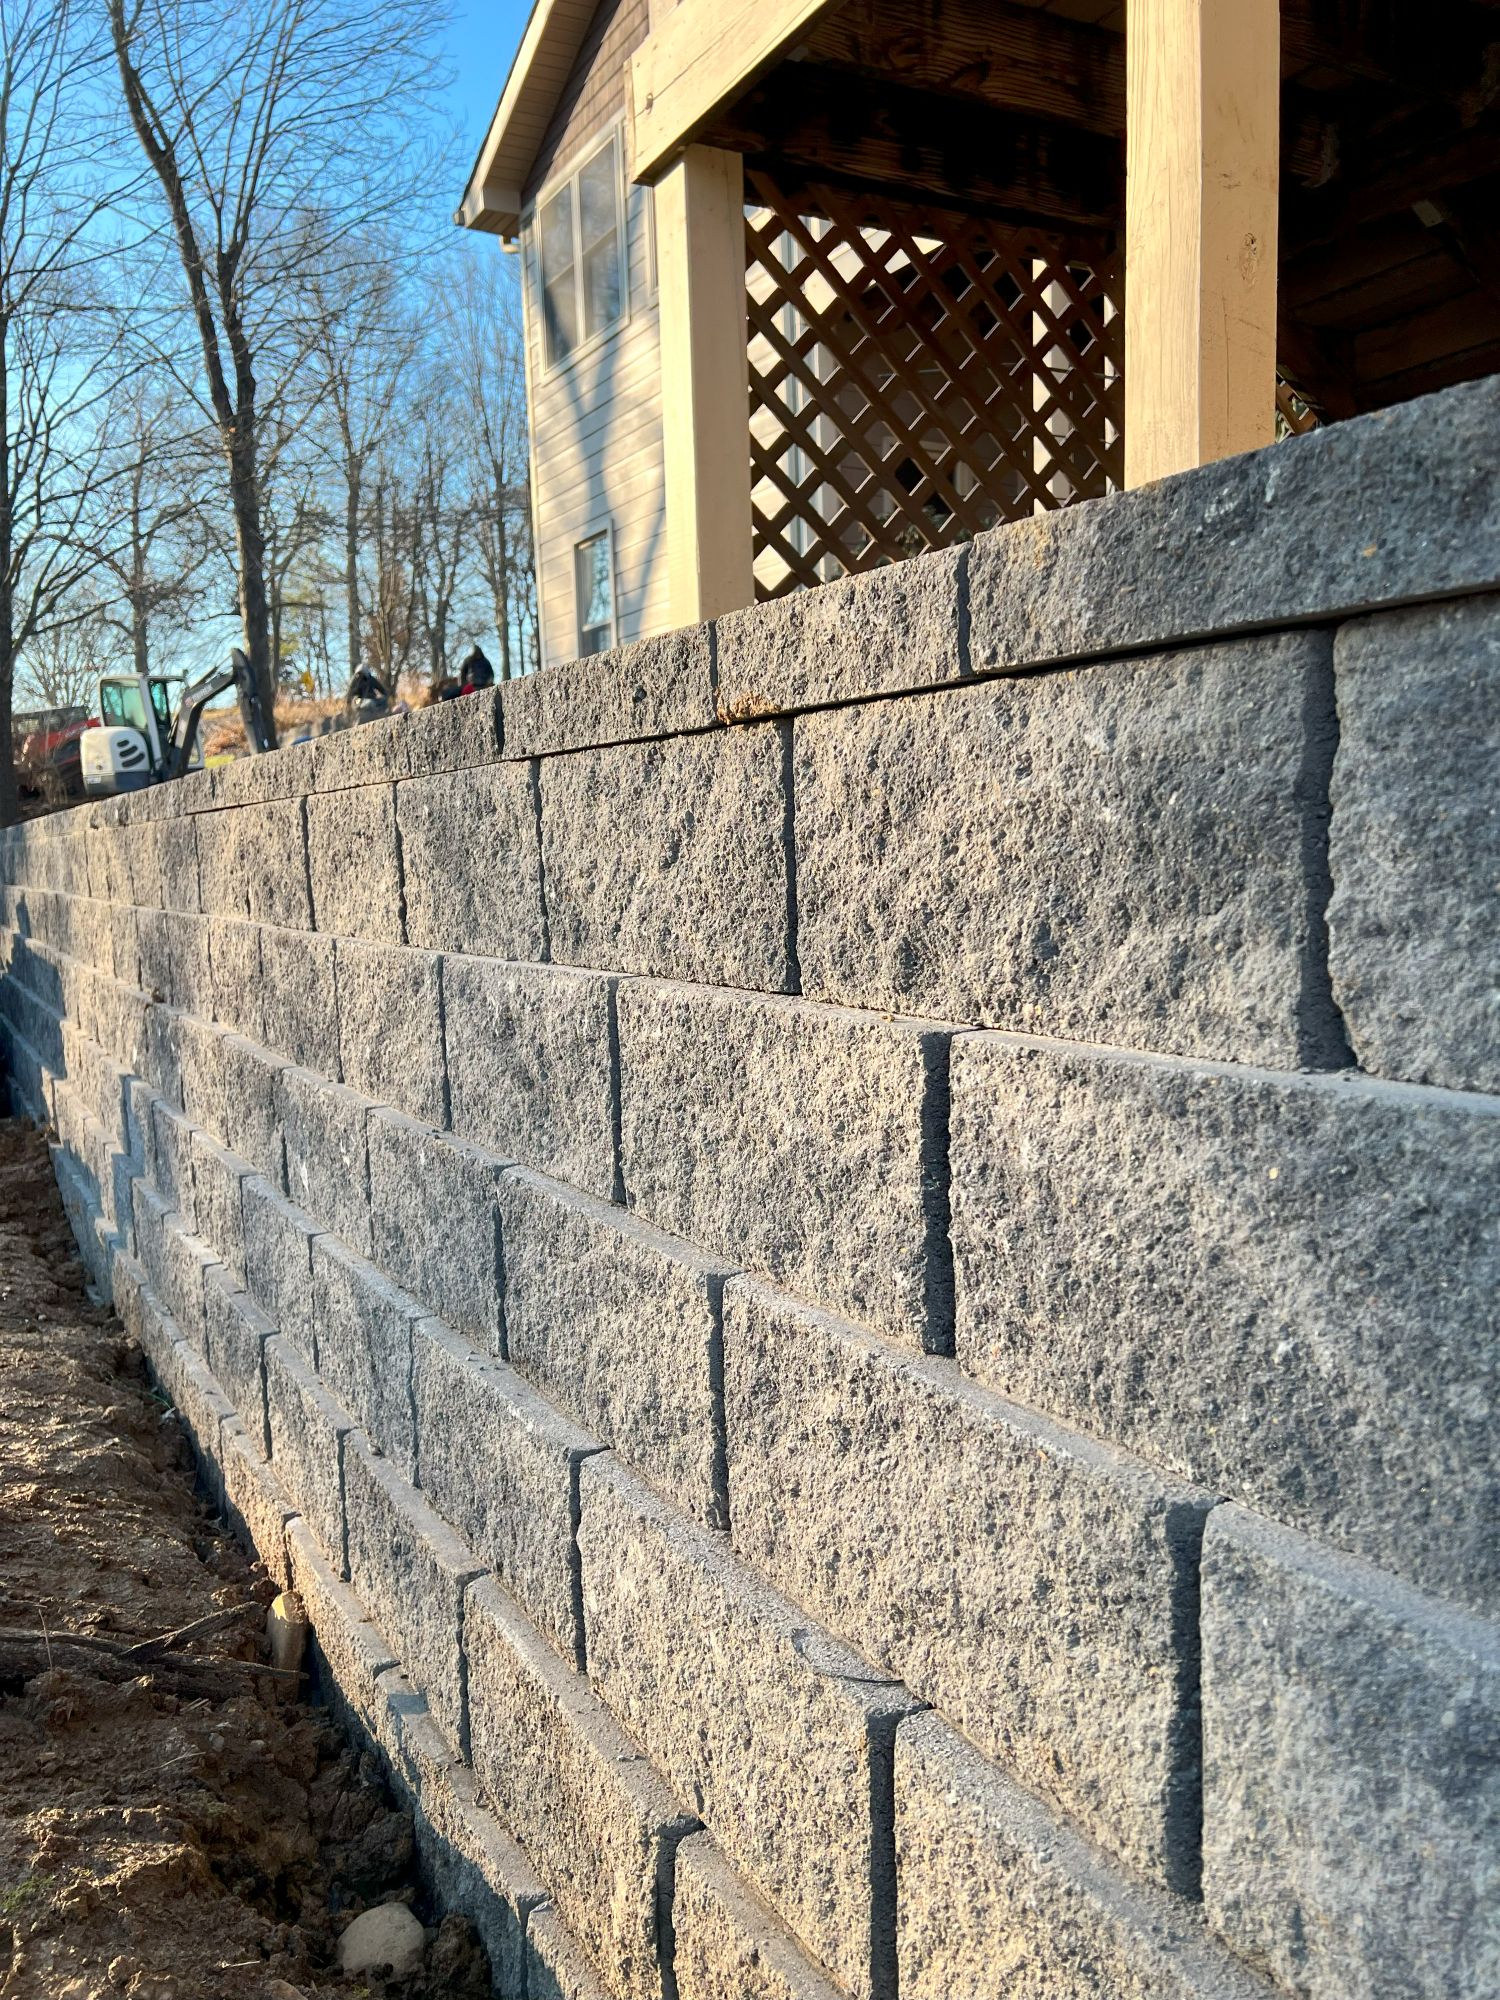
When patio construction is done correctly, the individual pavers are interlocked and joined together, like puzzle pieces, to form a strong pavement system. Pavers are incredibly durable and can be installed in various colors, textures, and patterns.
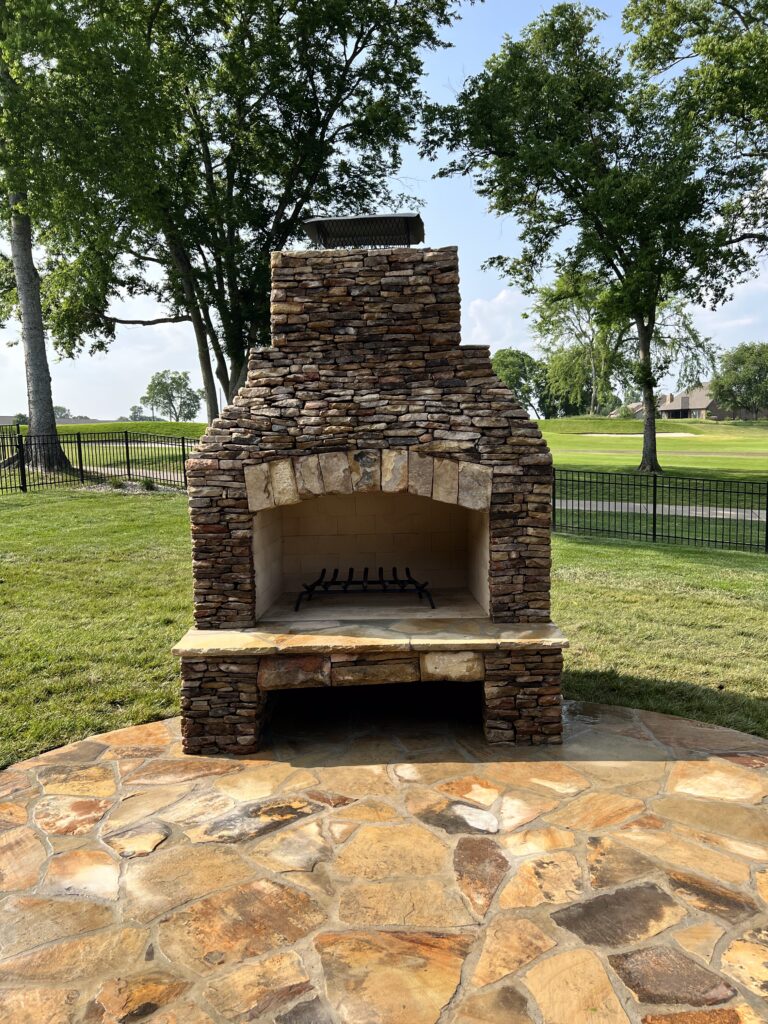
Paver patios are an easy addition to most yards that require little ongoing maintenance. If you need help deciding whether pavers are the right option for your outdoor space, give our paver patio contractor experts at Greenway of Nashville a call. We’ve been constructing patios and other residential hardscape elements for years and can guide you through the design and installation process!

What Tools & Materials Do You Need?
A typical paver patio consists of several layers that will need to be installed:
- A 6-inch layer of gravel paver base
- A 1-inch layer of sand
- The pavers
- Paver sand to be placed in the joints between the pavers

With this in mind, the main tools and materials you will need for your paver patio construction include (but may not be limited to):
Tools:
Shovel
Tape Measure
Garden Rake
Concrete Saws
Work Gloves
Eye Protection
Hearing Protection
Push Broom
Plate Compactor
Electrical Conduit or 1-inch PVC Pipe
2×4 inch Board
4 ft. Level
Spray Paint
Flagging Tape
Materials:
Pavers
Paver Base
Paver Sand
Jointing/Polymeric Sand
Keep in mind that the number of pavers, and the amount of base and sand you’ll need, will depend on the square footage of the patio area you want to install.
“Work with skilled Nashville hardscaping and outdoor construction professionals who understand your vision and respect your schedule. Contact us for a free quote!”
Installing Patio Pavers Step-by-Step

1. Prep Your Workspace
Prepping the area for your patio construction is key to its success.
- Use marking paint or flagging tape to mark the perimeter of your patio.
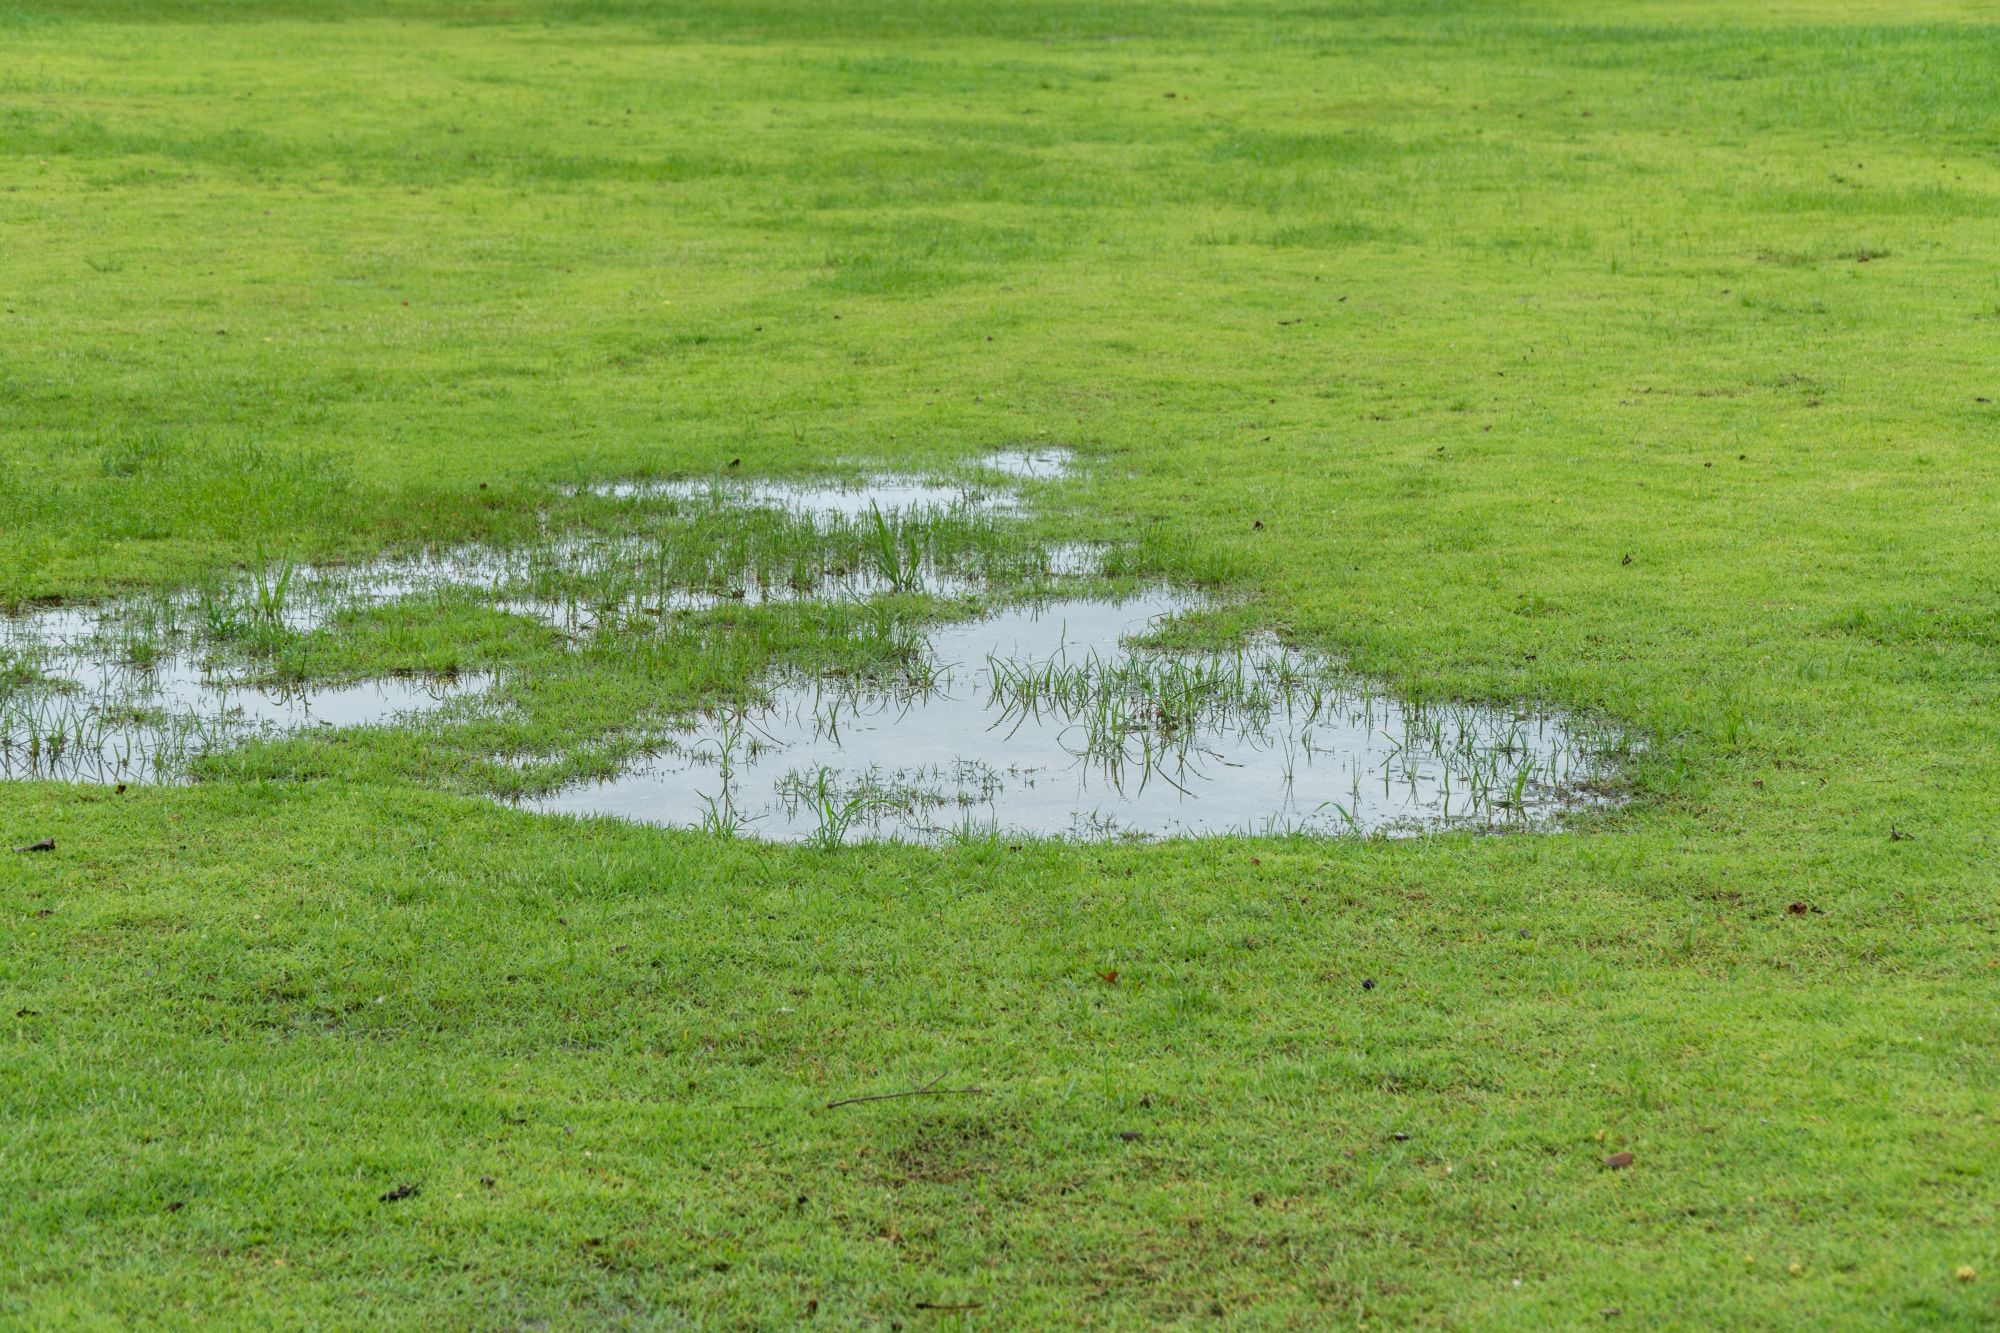
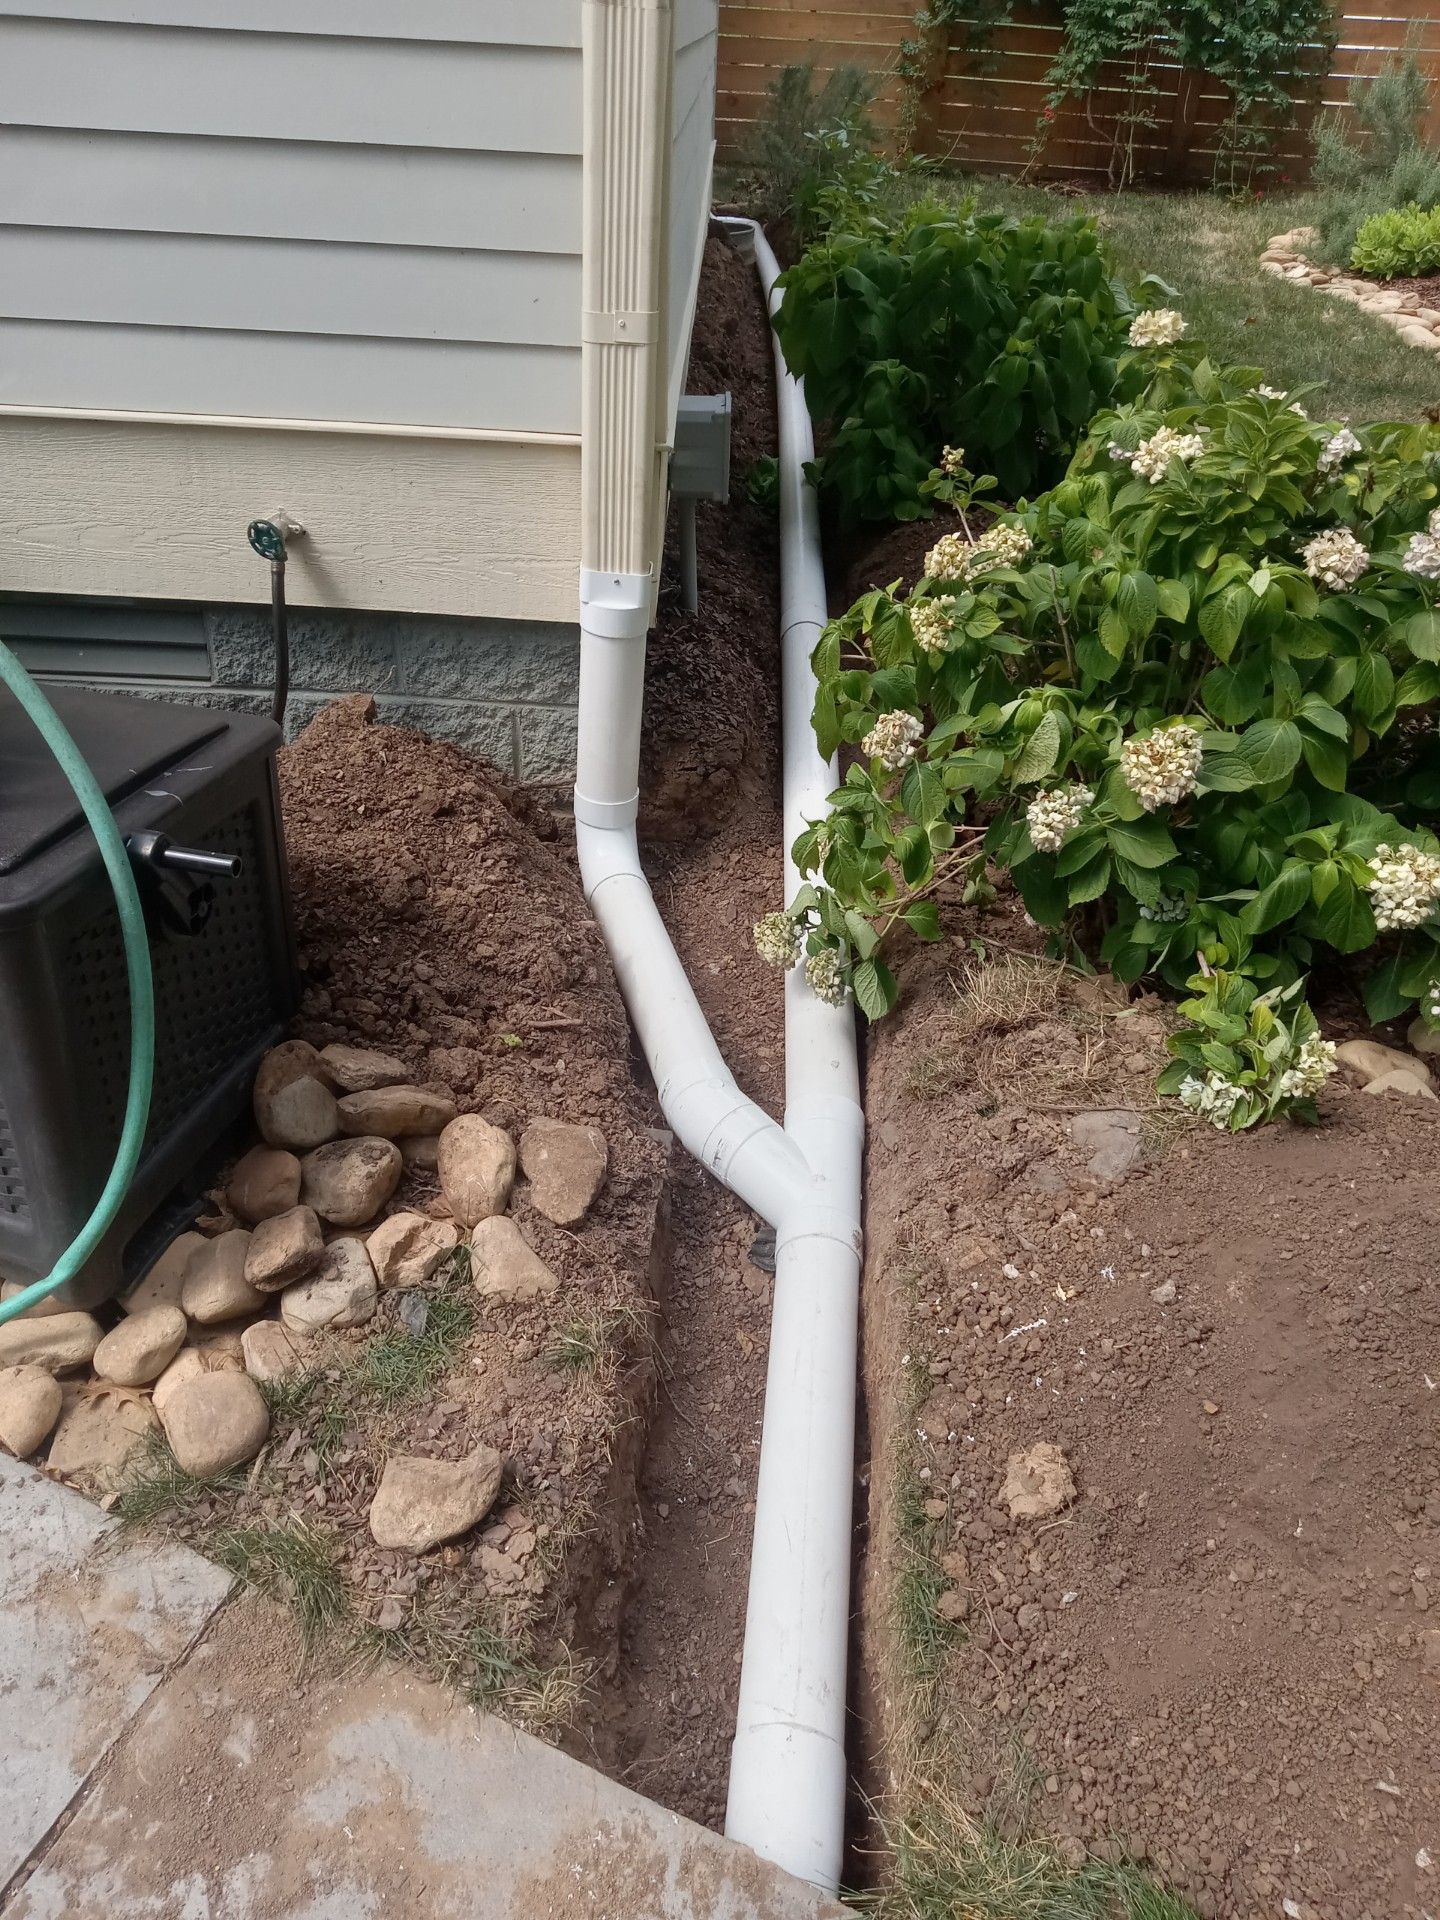
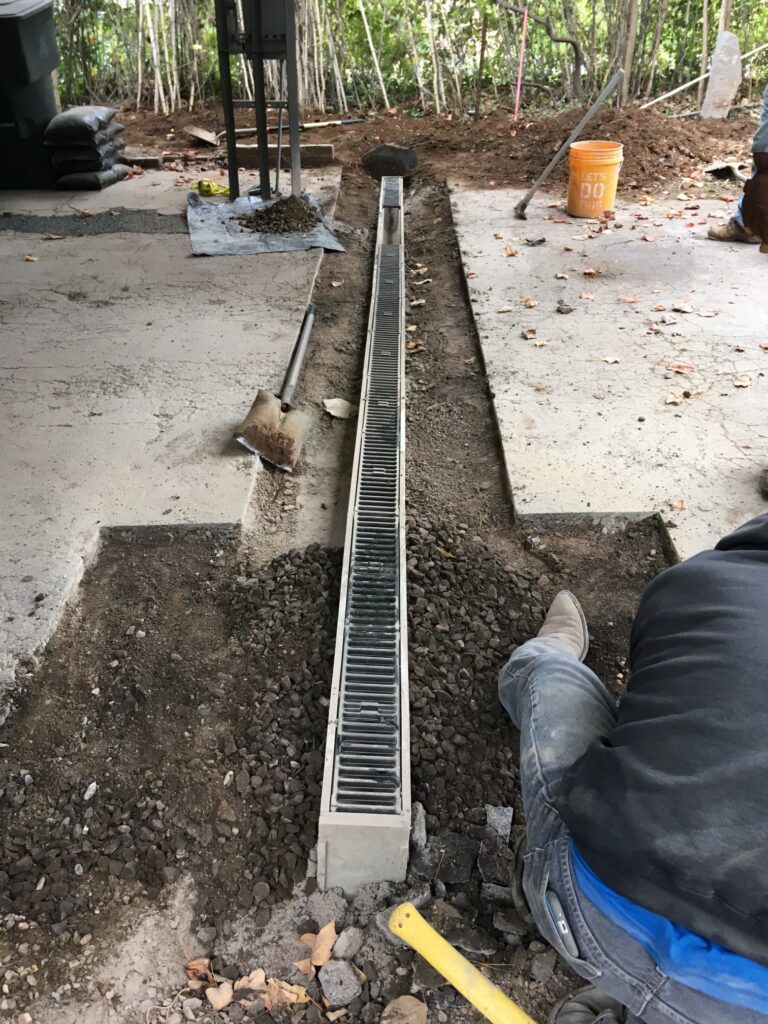
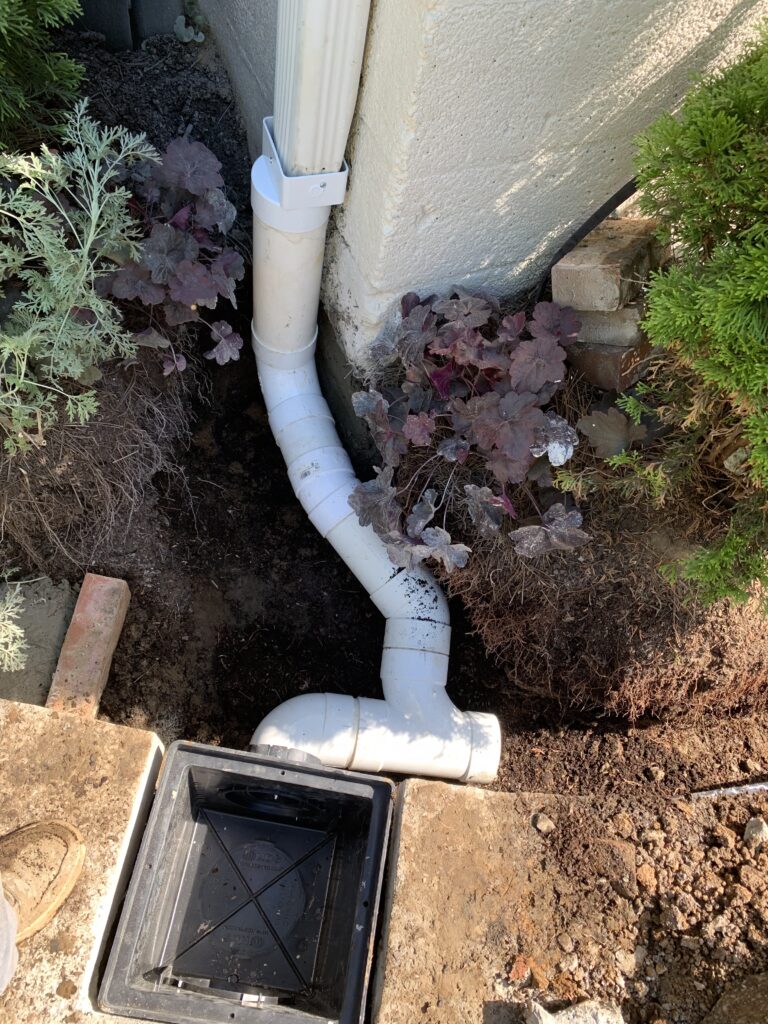
- Make sure to plan for the proper slope, working away from your home to help with water drainage.
- Next, remove the grass and dirt from the work area. The total depth you need to dig will depend on your base and the height of the pavers. Keep in mind that the pavers should sit at, or a little above ground level.
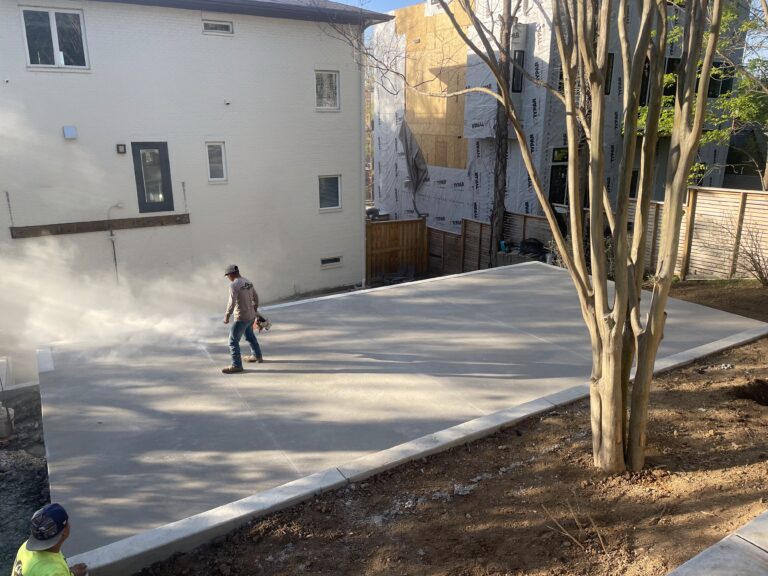
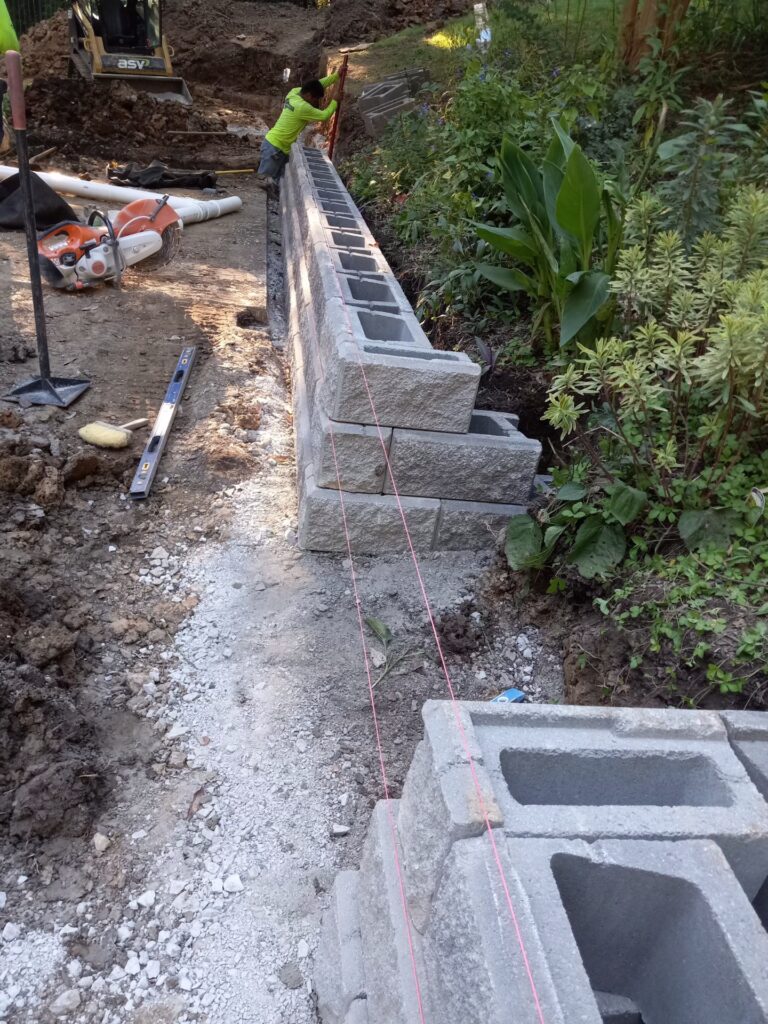
2. Lay a Level Foundation
After the layout of your patio is marked and the area is cleared, you’re ready to lay the foundation.
- Spread the paver base material throughout the patio area at a depth of approximately 4 inches.
- Evenly spread the material and compact the area until you have a firm base. Tip: a plate compactor will make this step easier, especially if you’re installing a larger patio.
- Next, place an electrical conduit or 1-inch PVC pipe across the base. This will ensure you pour the correct depth of paver sand and guide you when leveling the sand.
- Pour the sand over the conduits or PVC pipe, then drag a straight 2×4 over the area to level the sand layer and create a flat surface.
- Remove the conduits or pipes and fill the gaps with more paver sand, leveling the area again until you have a flatbed of sand across the entire area.
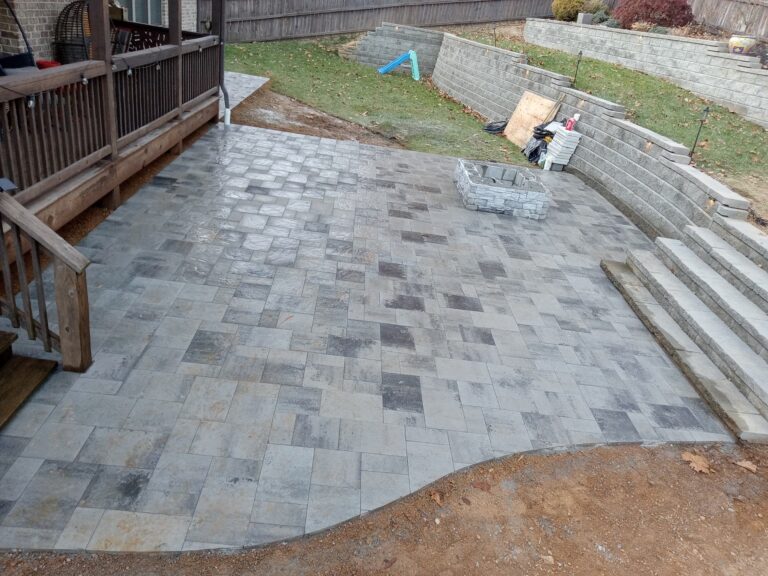
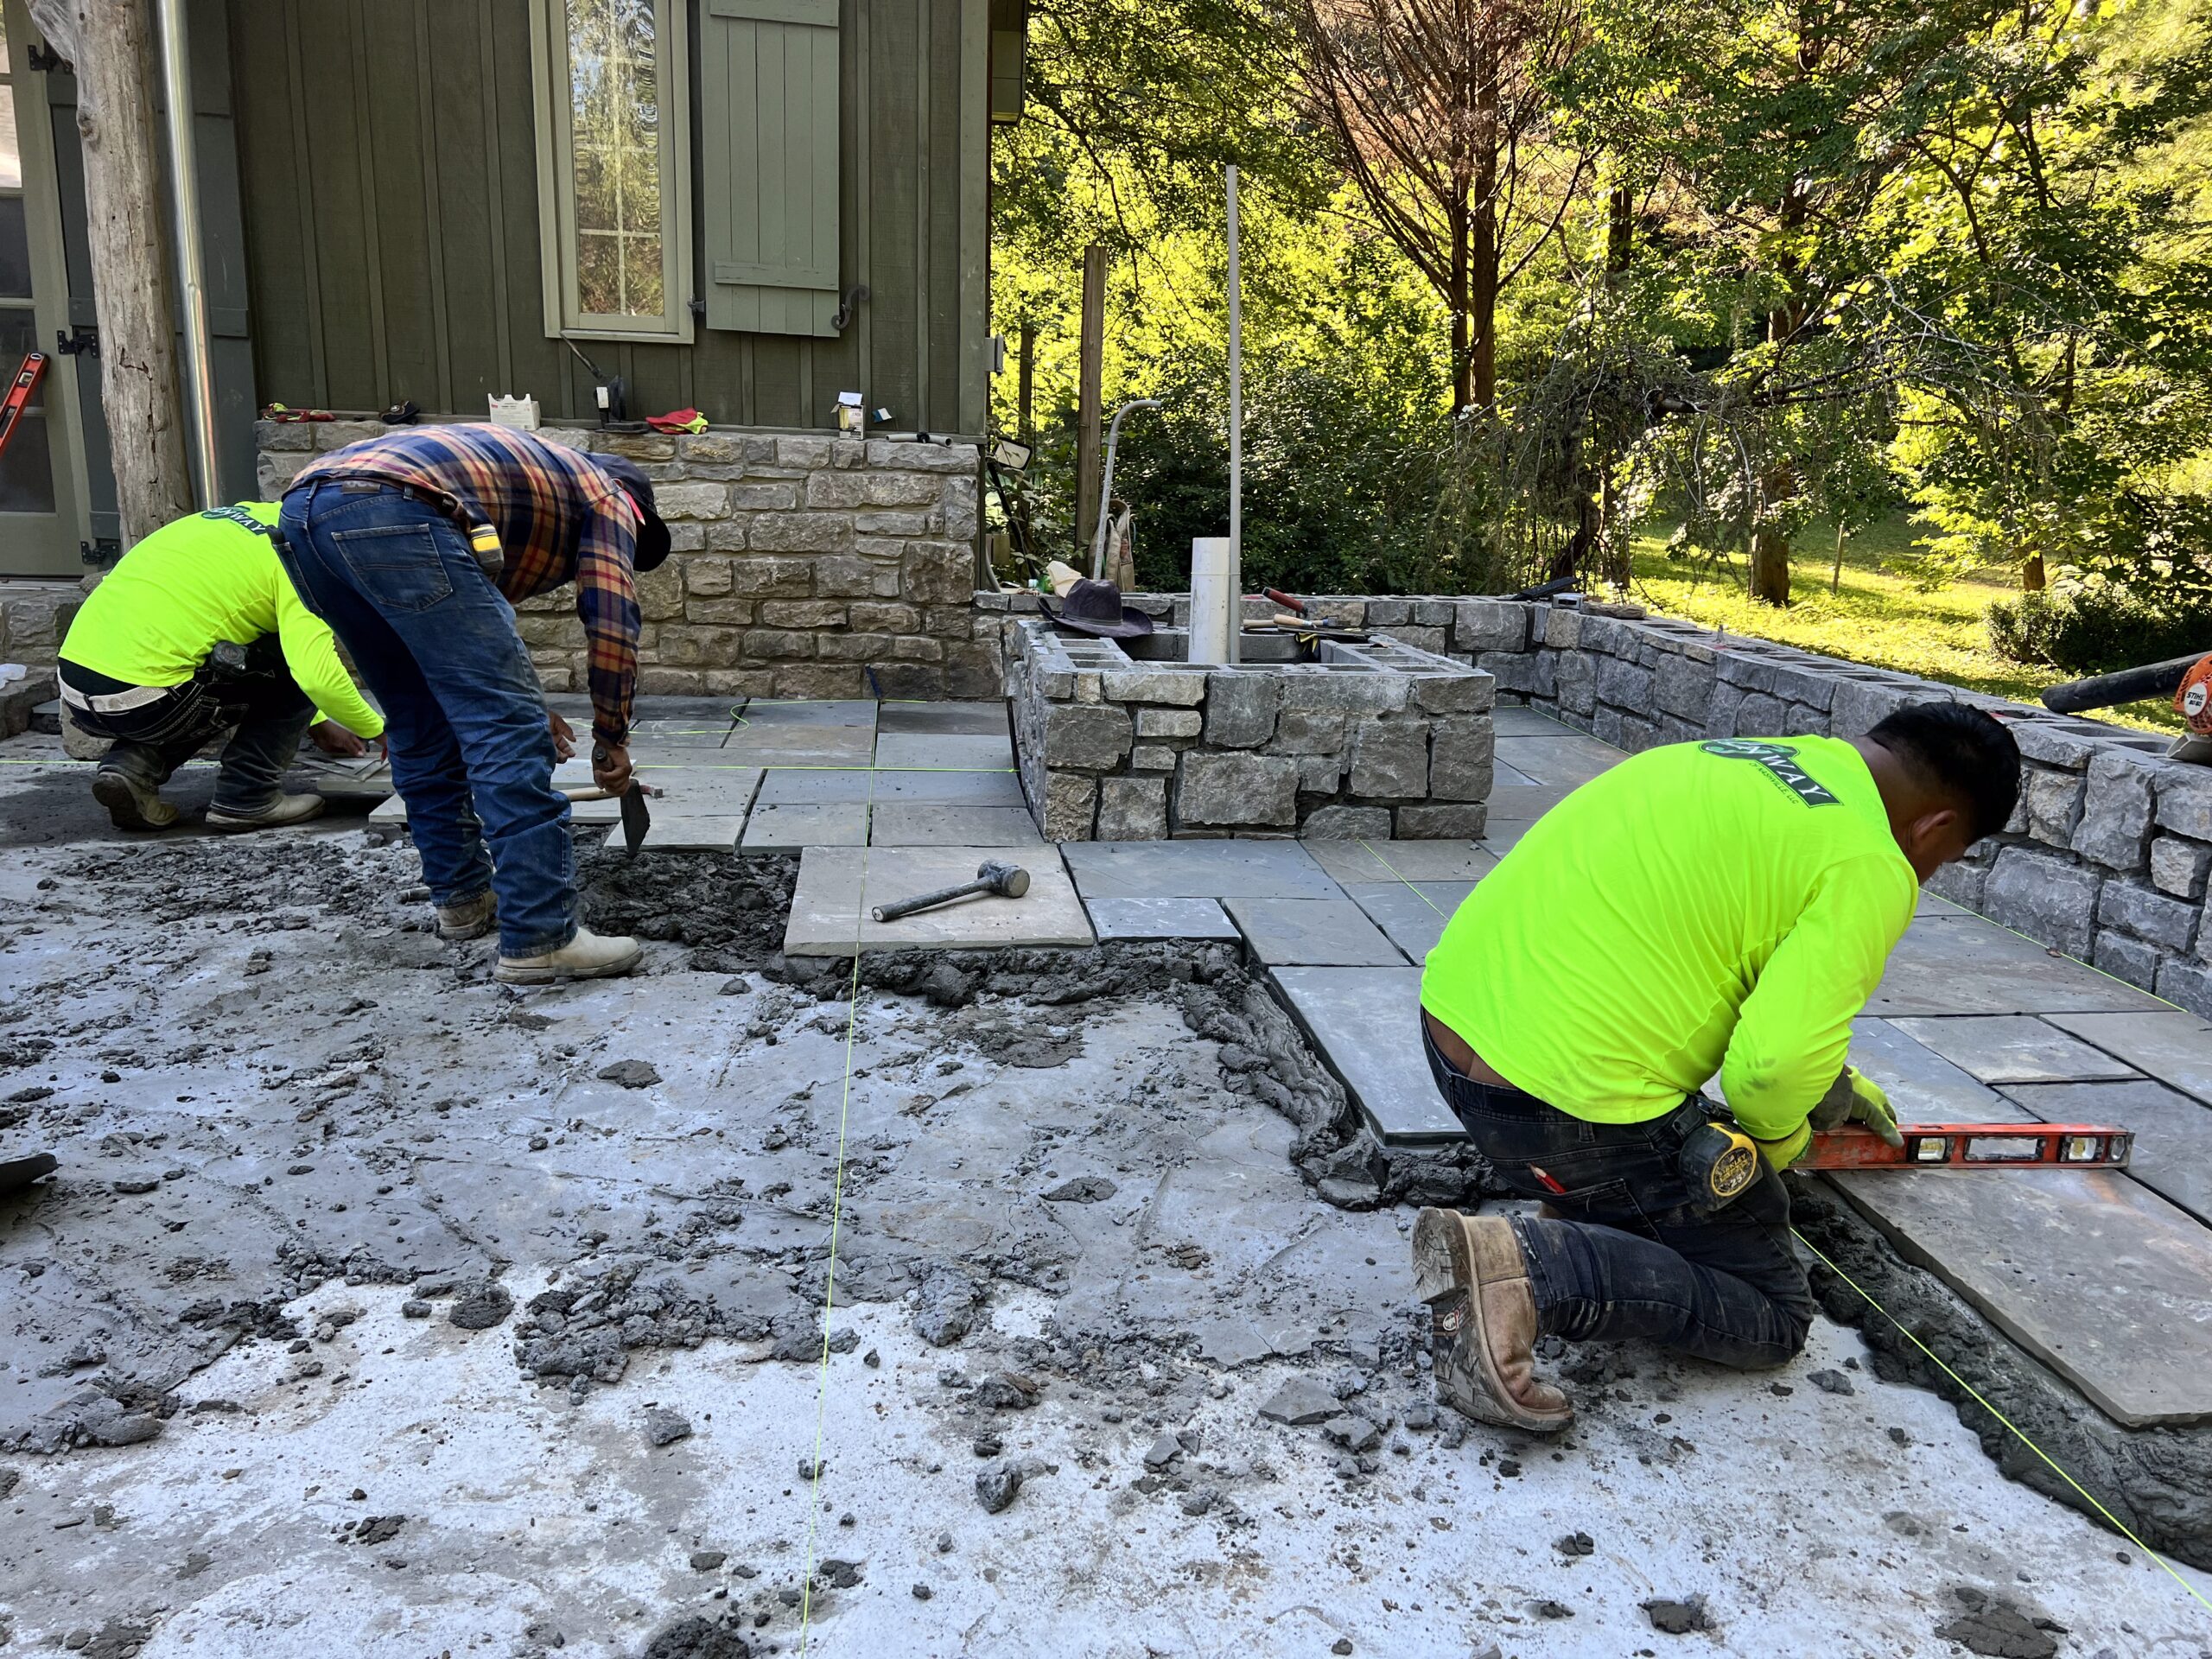
Now that your foundation is laid, it’s time to install the pavers. Paver patios can be installed in a number of different patterns, the most popular being jack-on-jack and running bond. Herringbone and pinwheel are also common paver patio designs, but are more advanced and require a larger number of cuts.
- Whatever you pattern you choose, start at a corner and lay out the paver stones one by one, working outward.
- Place the pavers straight down and ensure they fit tightly together.
- Use a straightedge to keep the blocks in line. You may need to cut some pavers in order for them to fit your patio design. Make sure to wear safety gear, such as eye and hearing protection when using any type of saw.
- Continue these steps until all pavers have been placed.
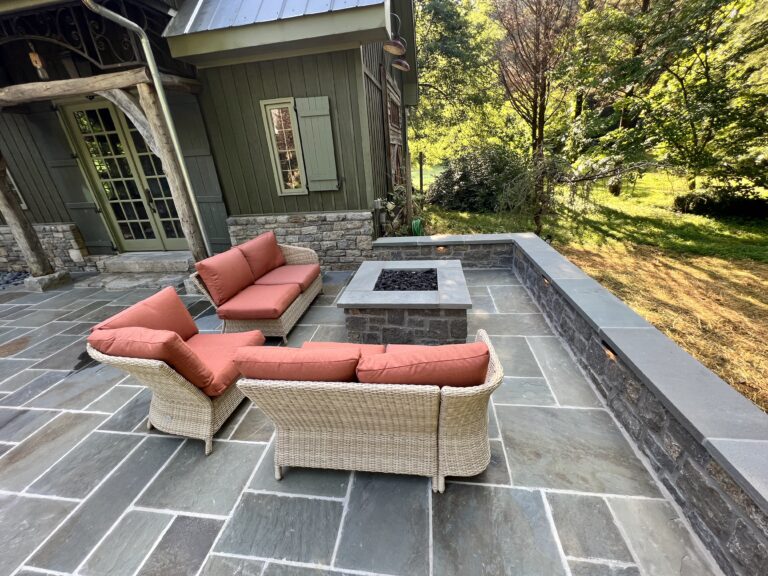
4. Finishing Touches
Once your pavers are set, you’ll need to add jointing sand to finish the project properly.
- Spread a layer of paver sand to fill the spaces in between the pavers. Polymeric jointing sand provides the best bond, but be sure that the pavers are dry before application.
- Sweep the sand into the joints and run the plate compactor over the area.
- Repeat this step one last time and allow the sand to cure for 24 hours.
Rather Have an Expert Handle Your Patio Construction? Call Us Today!

Constructing your own paver patio is easier said than done. Not only does it require a considerable amount of time and energy but, if installed incorrectly, you may wind up spending even more money for repairs.
Instead, leave the hassles to our patio construction experts at Greenway of Nashville. We’ve been the trusted choice for homeowners across Nashville, TN, and surrounding communities for over a decade. Our team of expert tradesmen will have your patio ready for you to enjoy in no time.
Contact us today or call us at (615) 238-4574 to get the patio you’ve always wanted, adding beauty and value to your home.